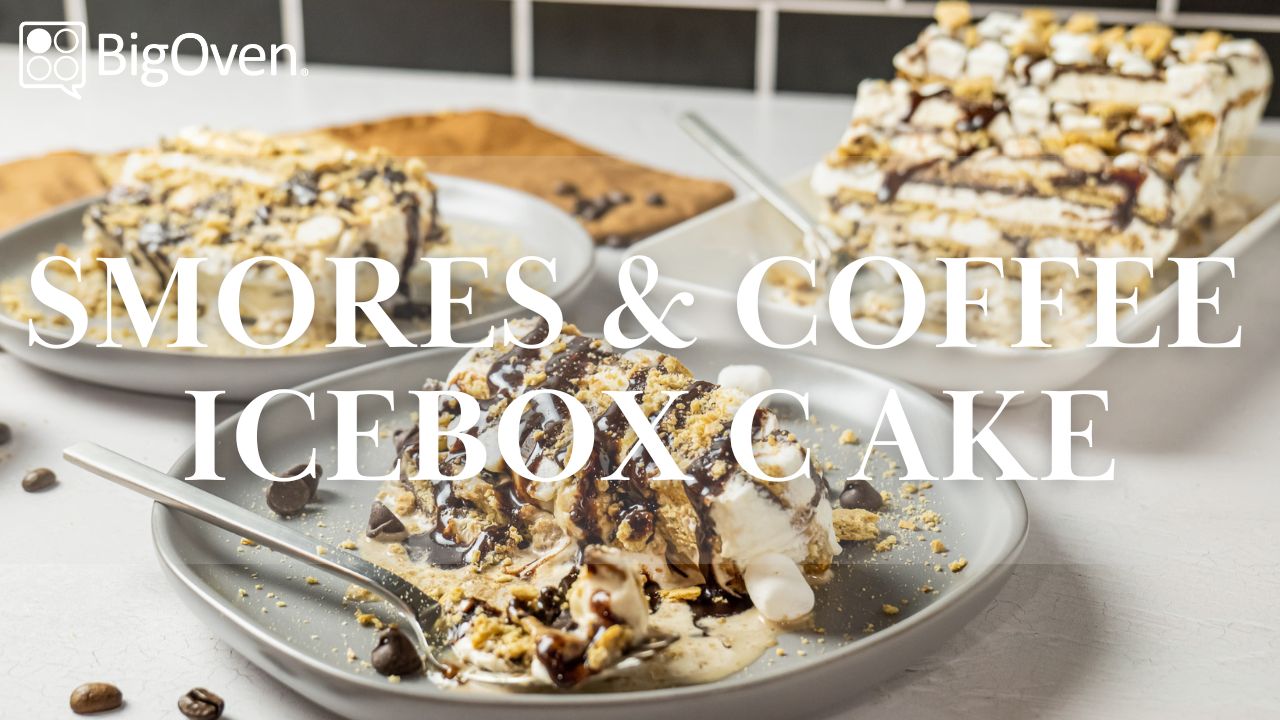
Sure, you could make a traditional cake for your next special occasion, but that requires close monitoring, and there's always the potential that the cake may not rise. Instead of worrying about a dessert that may not turn out right, you can create an icebox cake that you know will be perfect every time.
An icebox cake requires no baking, so all you need to do is assemble the recipe and allow it to chill before serving. With a 20-minute prep time, you’ll have a delicious coffee smores icebox cake ready in no time!
Prepping the Pan
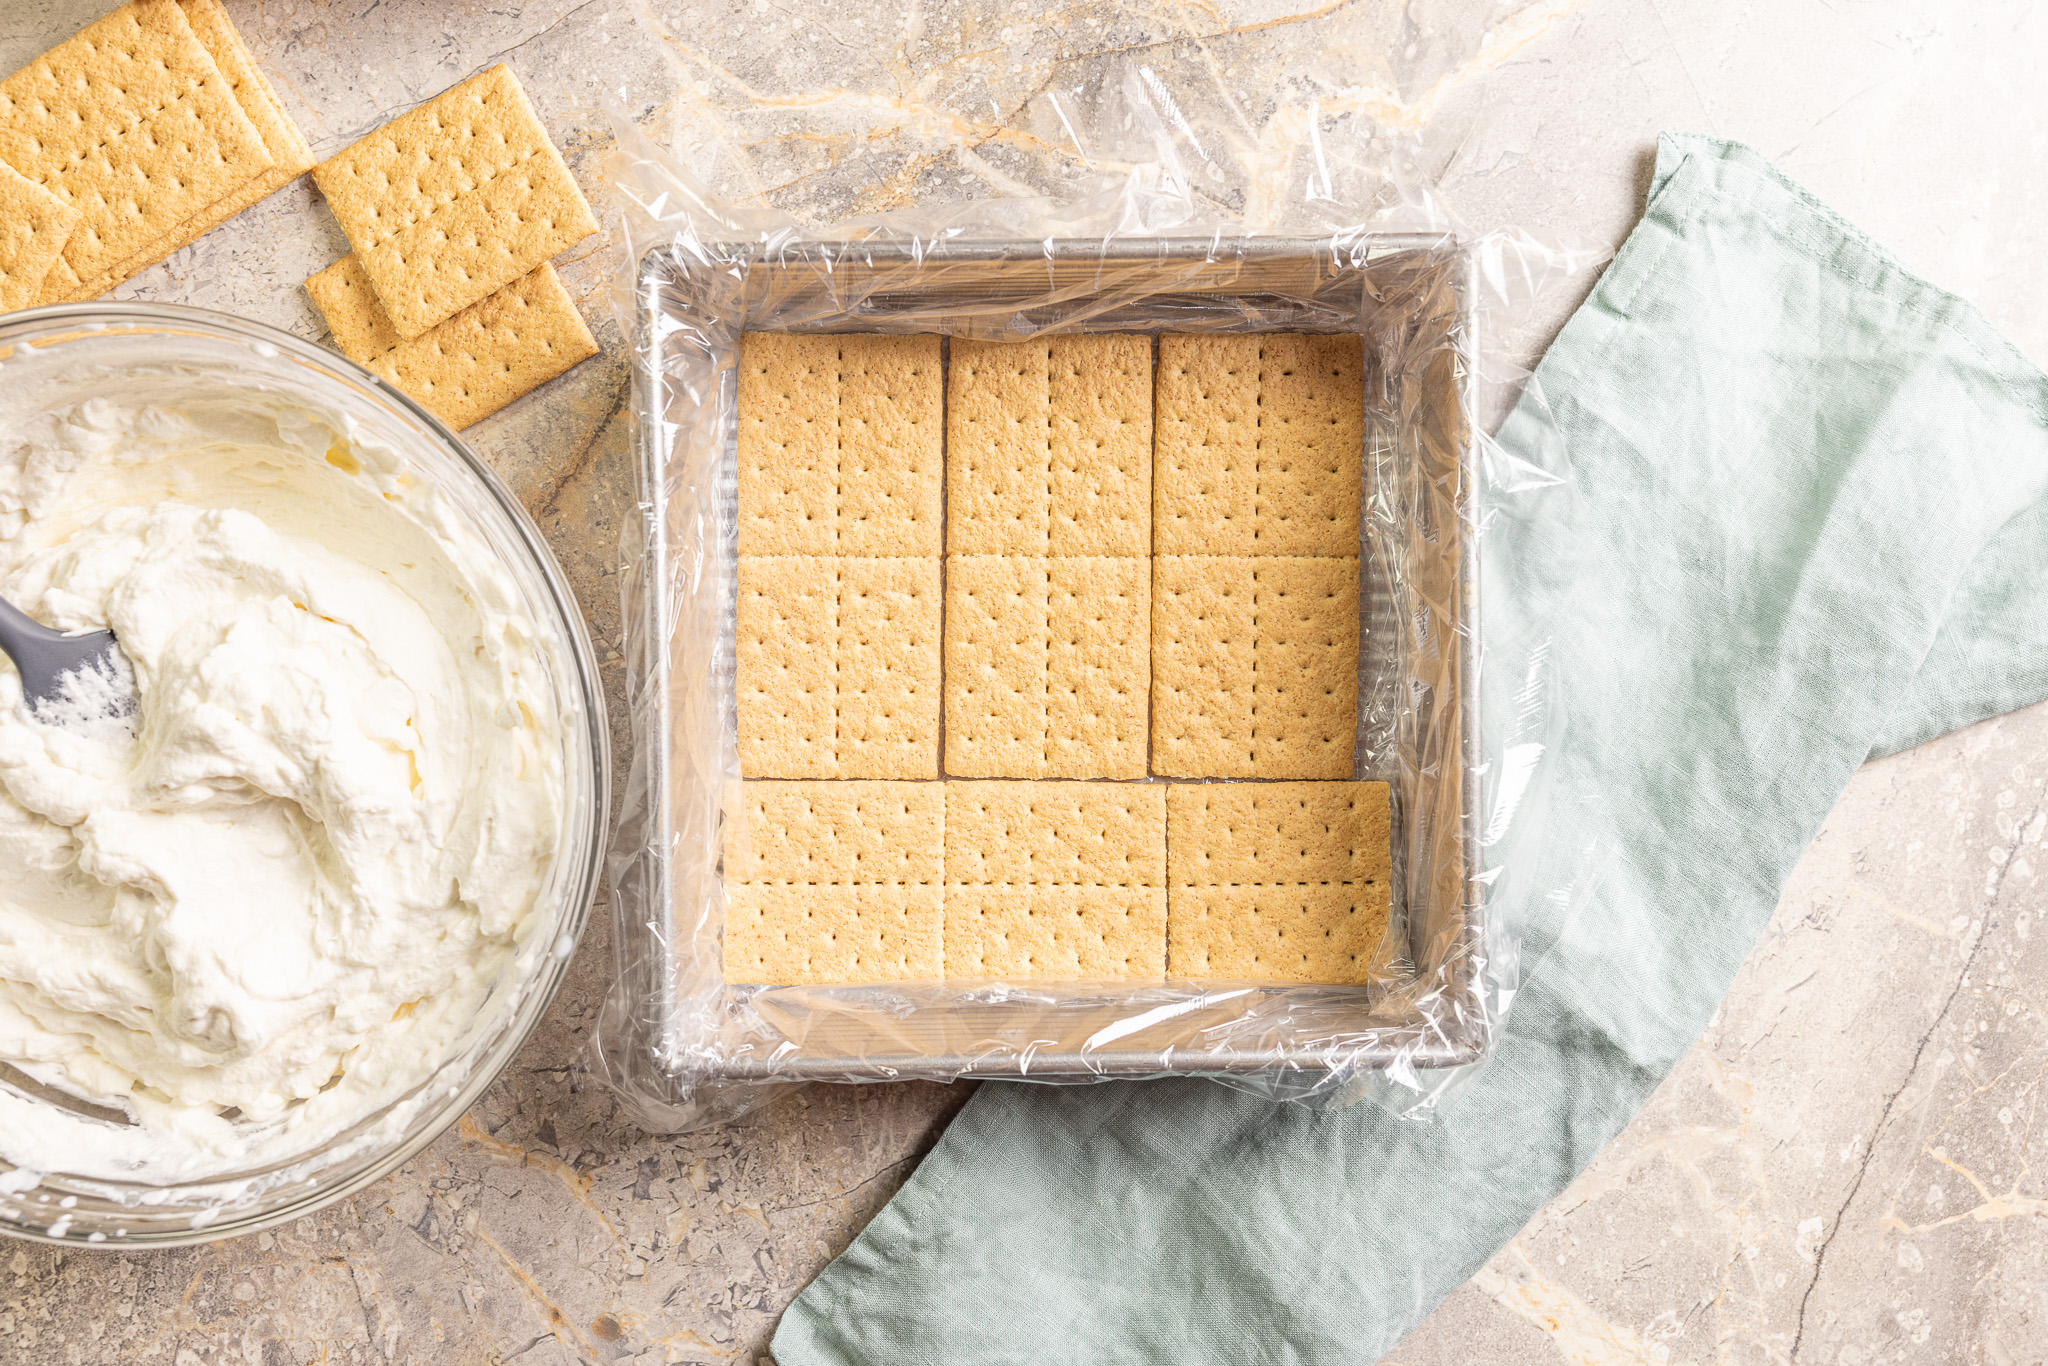
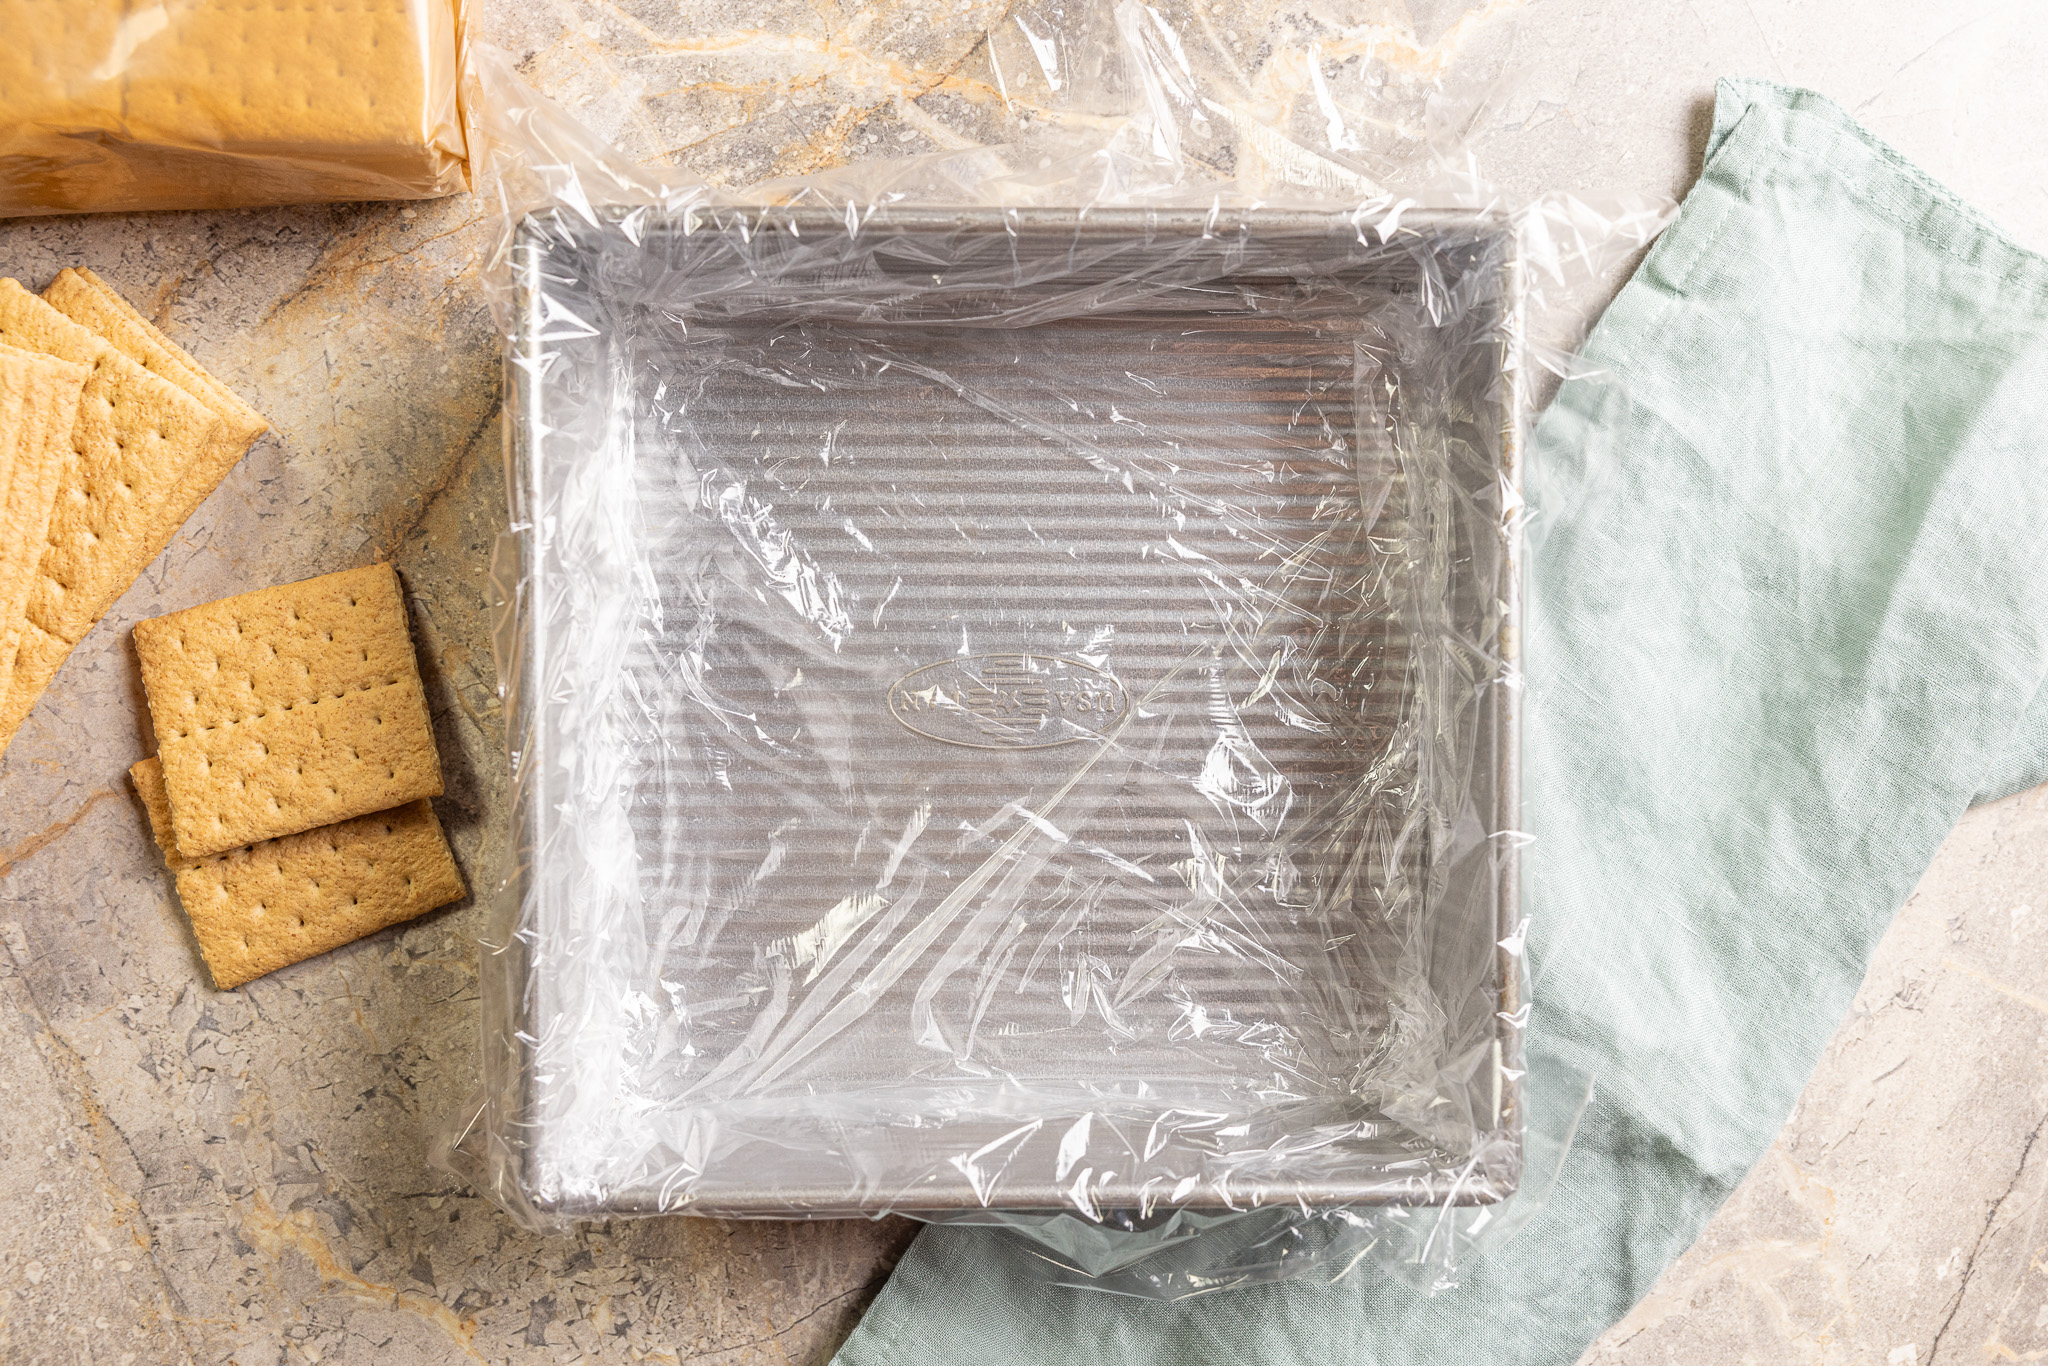
Prepping the pan is key to a better icebox cake like many desserts. If you forget the plastic wrap, you'll be stuck scraping out bits and pieces of the cake when it's time to serve it. Additionally, you want to ensure you're using the correct pan size. Otherwise, the cake layers may look too flat or poorly fit in the baking dish. Ensure you leave some overhang on the plastic wrap during this step.
Making the Chocolate
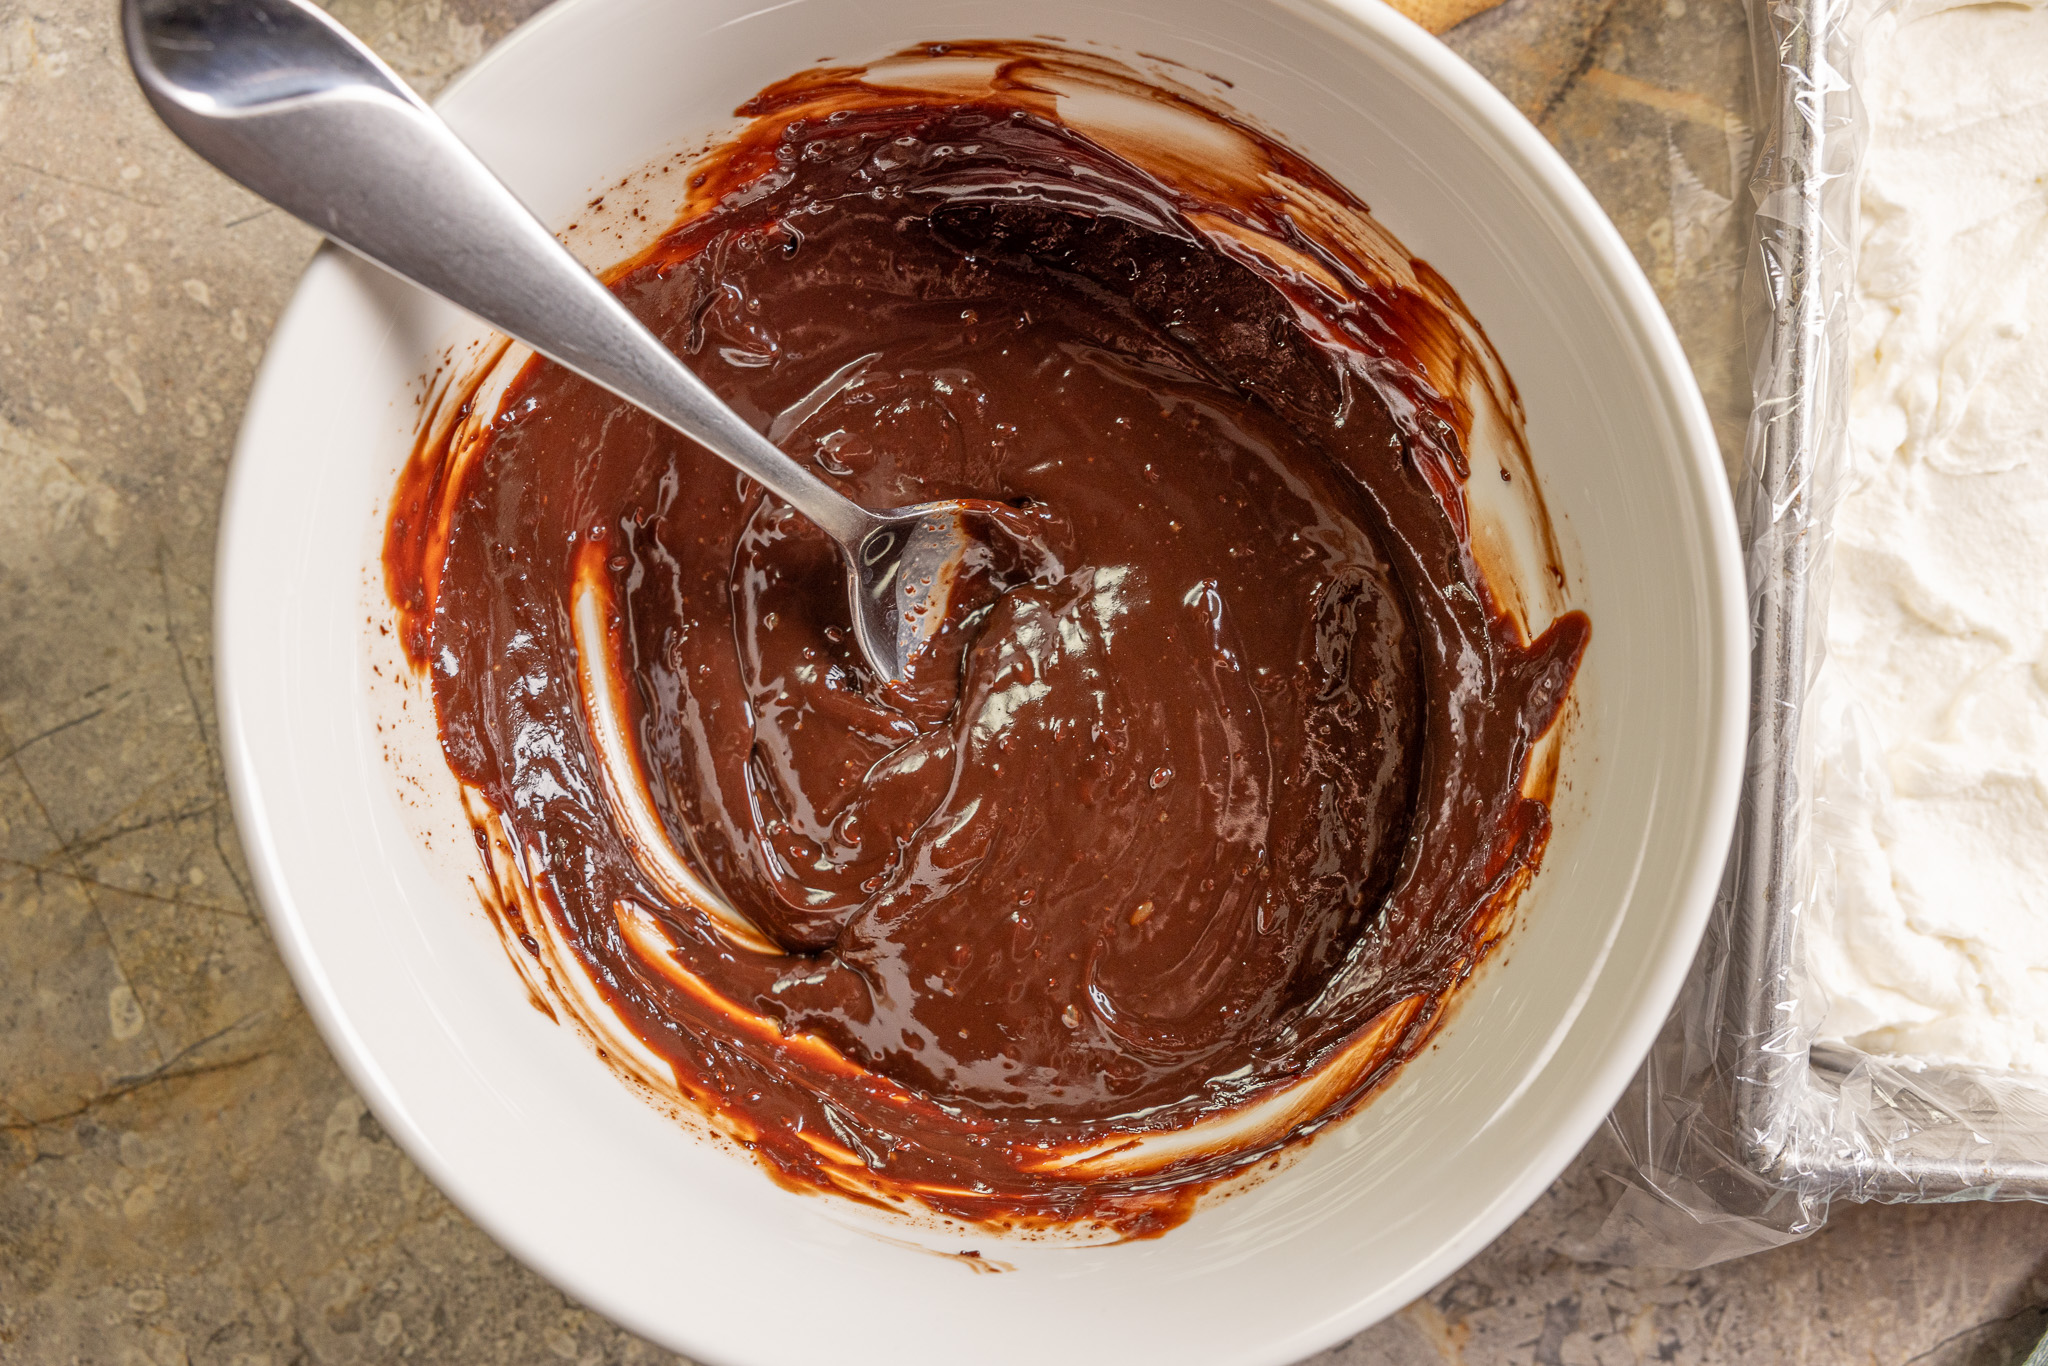
One of the layers this recipe requires is a chocolate ganache made with heavy whipping cream and chocolate chips. This sweet layer is a rich addition that helps sweeten the dessert and make it feel more elevated. It's important to carefully watch the pan on the stove for this step, as heating the heavy cream for too long or on too high heat can make it burn or curdle. If the cream burns or curdles, you'll need to start this step from the beginning, as there's no way to fix the flavor or consistency at that point.
When pouring the heated cream over the chocolate chips in the bowl, it’s best to stir consistently. Otherwise, you may come across some lumps and unmelted chips. As you're stirring, the cream will melt the chocolate chips and turn them into a rich ganache filling.
Creating the Whipped Cream
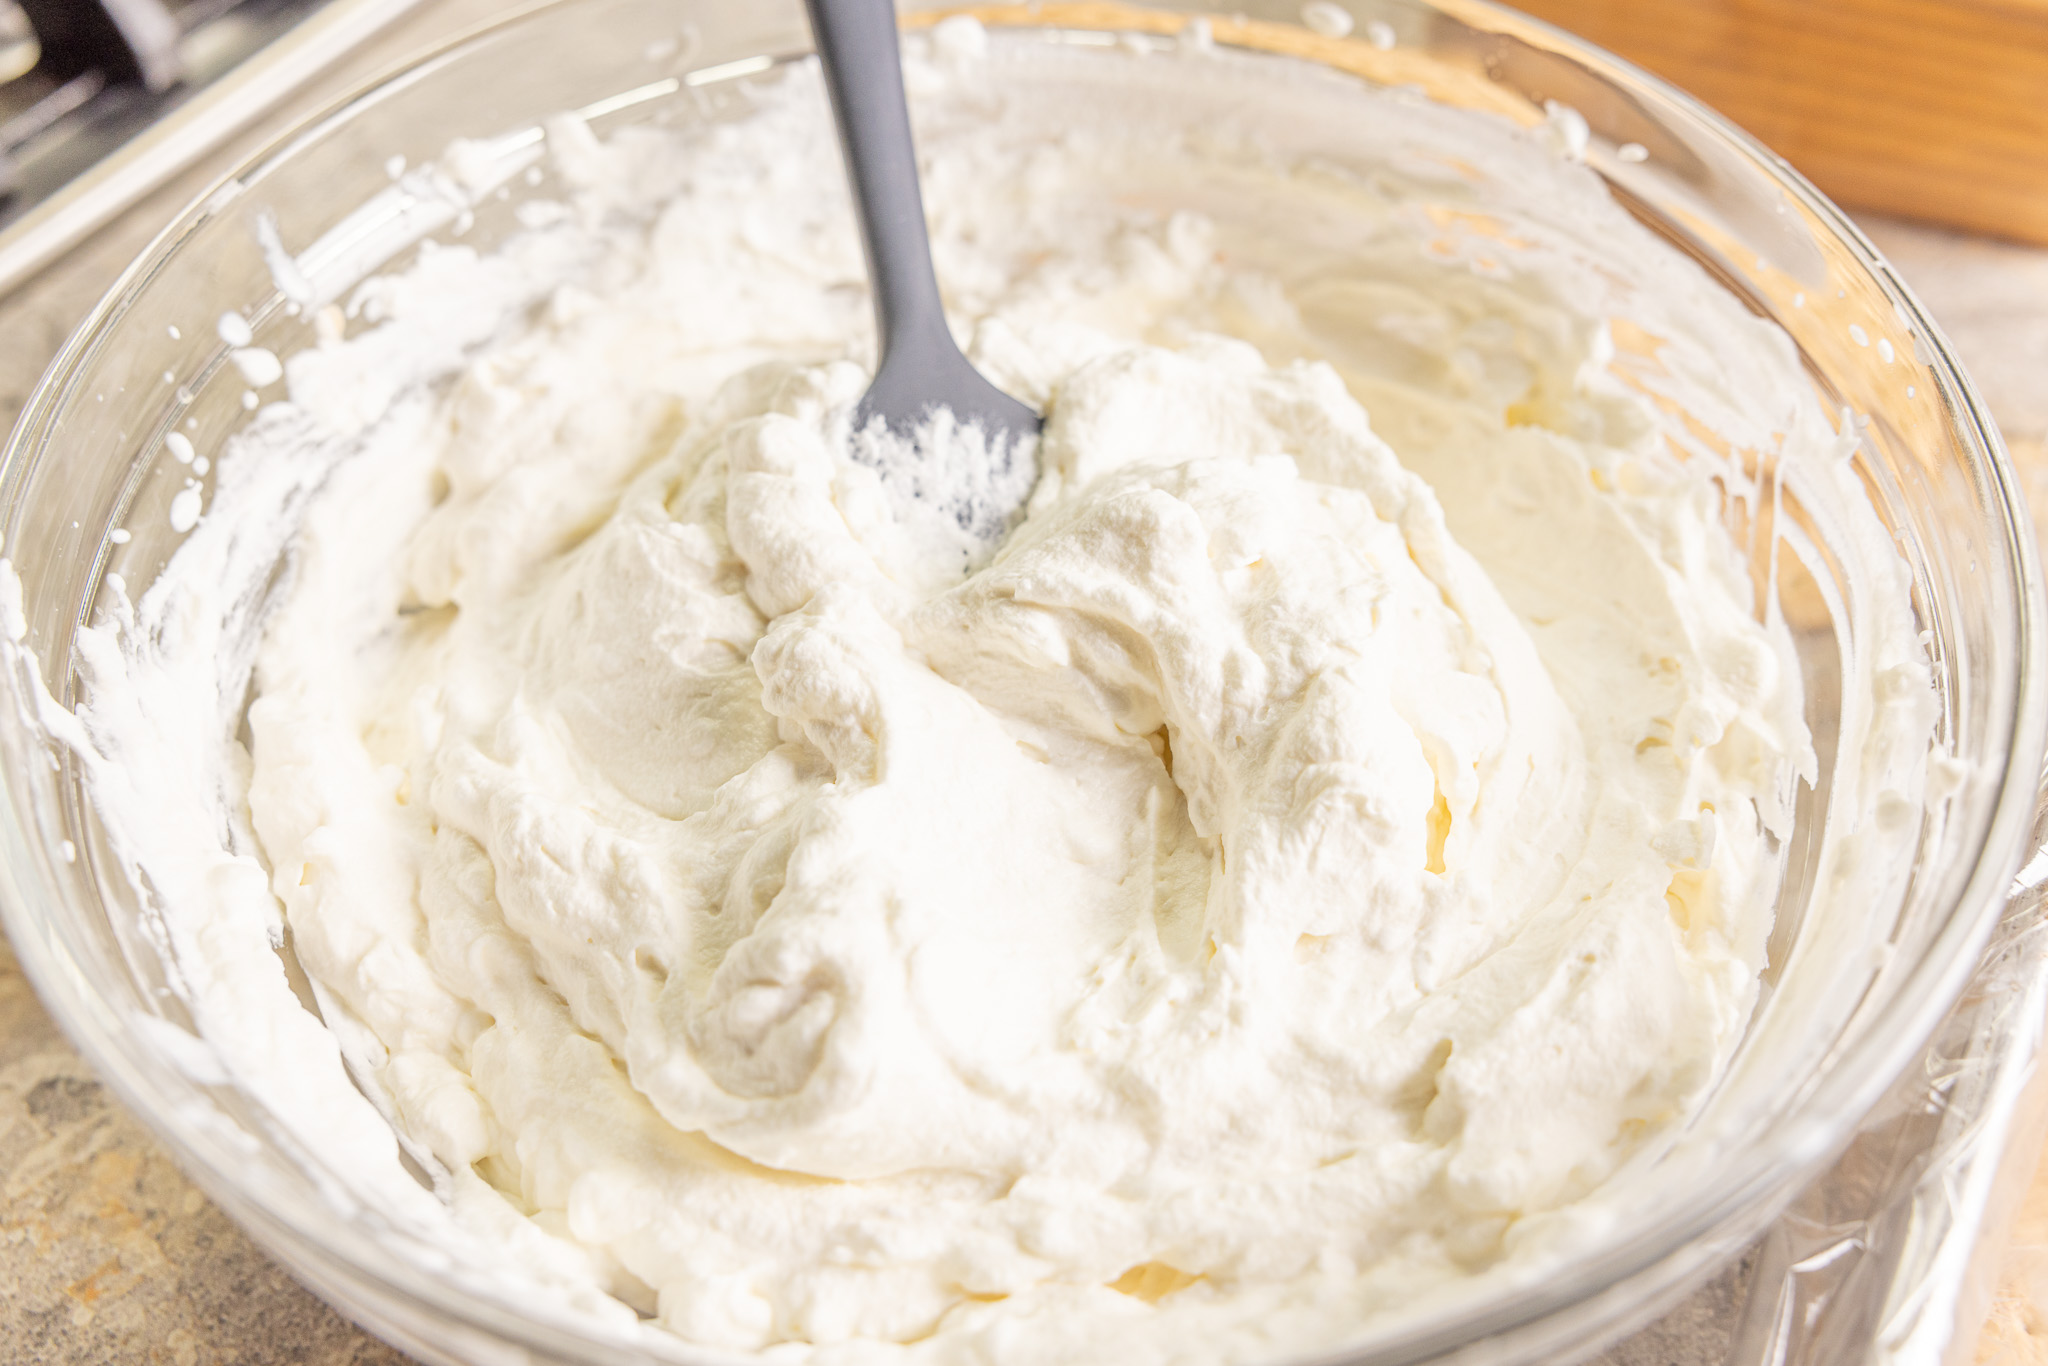
One of the other layers in this cake is homemade whipped cream. It only requires a few ingredients, the remainder of the heavy cream, vanilla extract, and marshmallow cream. While you can use a whisk to create the whipped cream, it will take much longer than using a hand mixer or stand mixer. Ensure you use the whisk attachment for this step, which helps incorporate air into the cream.
You'll need to continue whipping the cream until stiff peaks form. You can test for this by stopping the mixer and lifting it from the bowl. If the cream "peaks" stand up straight, you can move on to the next step. Mix the marshmallow cream and vanilla into the cream to add flavor. As you create the homemade whipped cream, leave the coffee ice cream out so it softens. Softened ice cream is much easier to spread than an option that's frozen solid.
Assembling the Layers
To assemble, start with a layer of graham crackers. Graham crackers (or cookies) help create a better foundation for the cake. Without this layer, the cake will be less sturdy. You may need to break some of the crackers up to fit them in a flat layer. For this step, you can also use chocolate wafers or cookies of your choice.
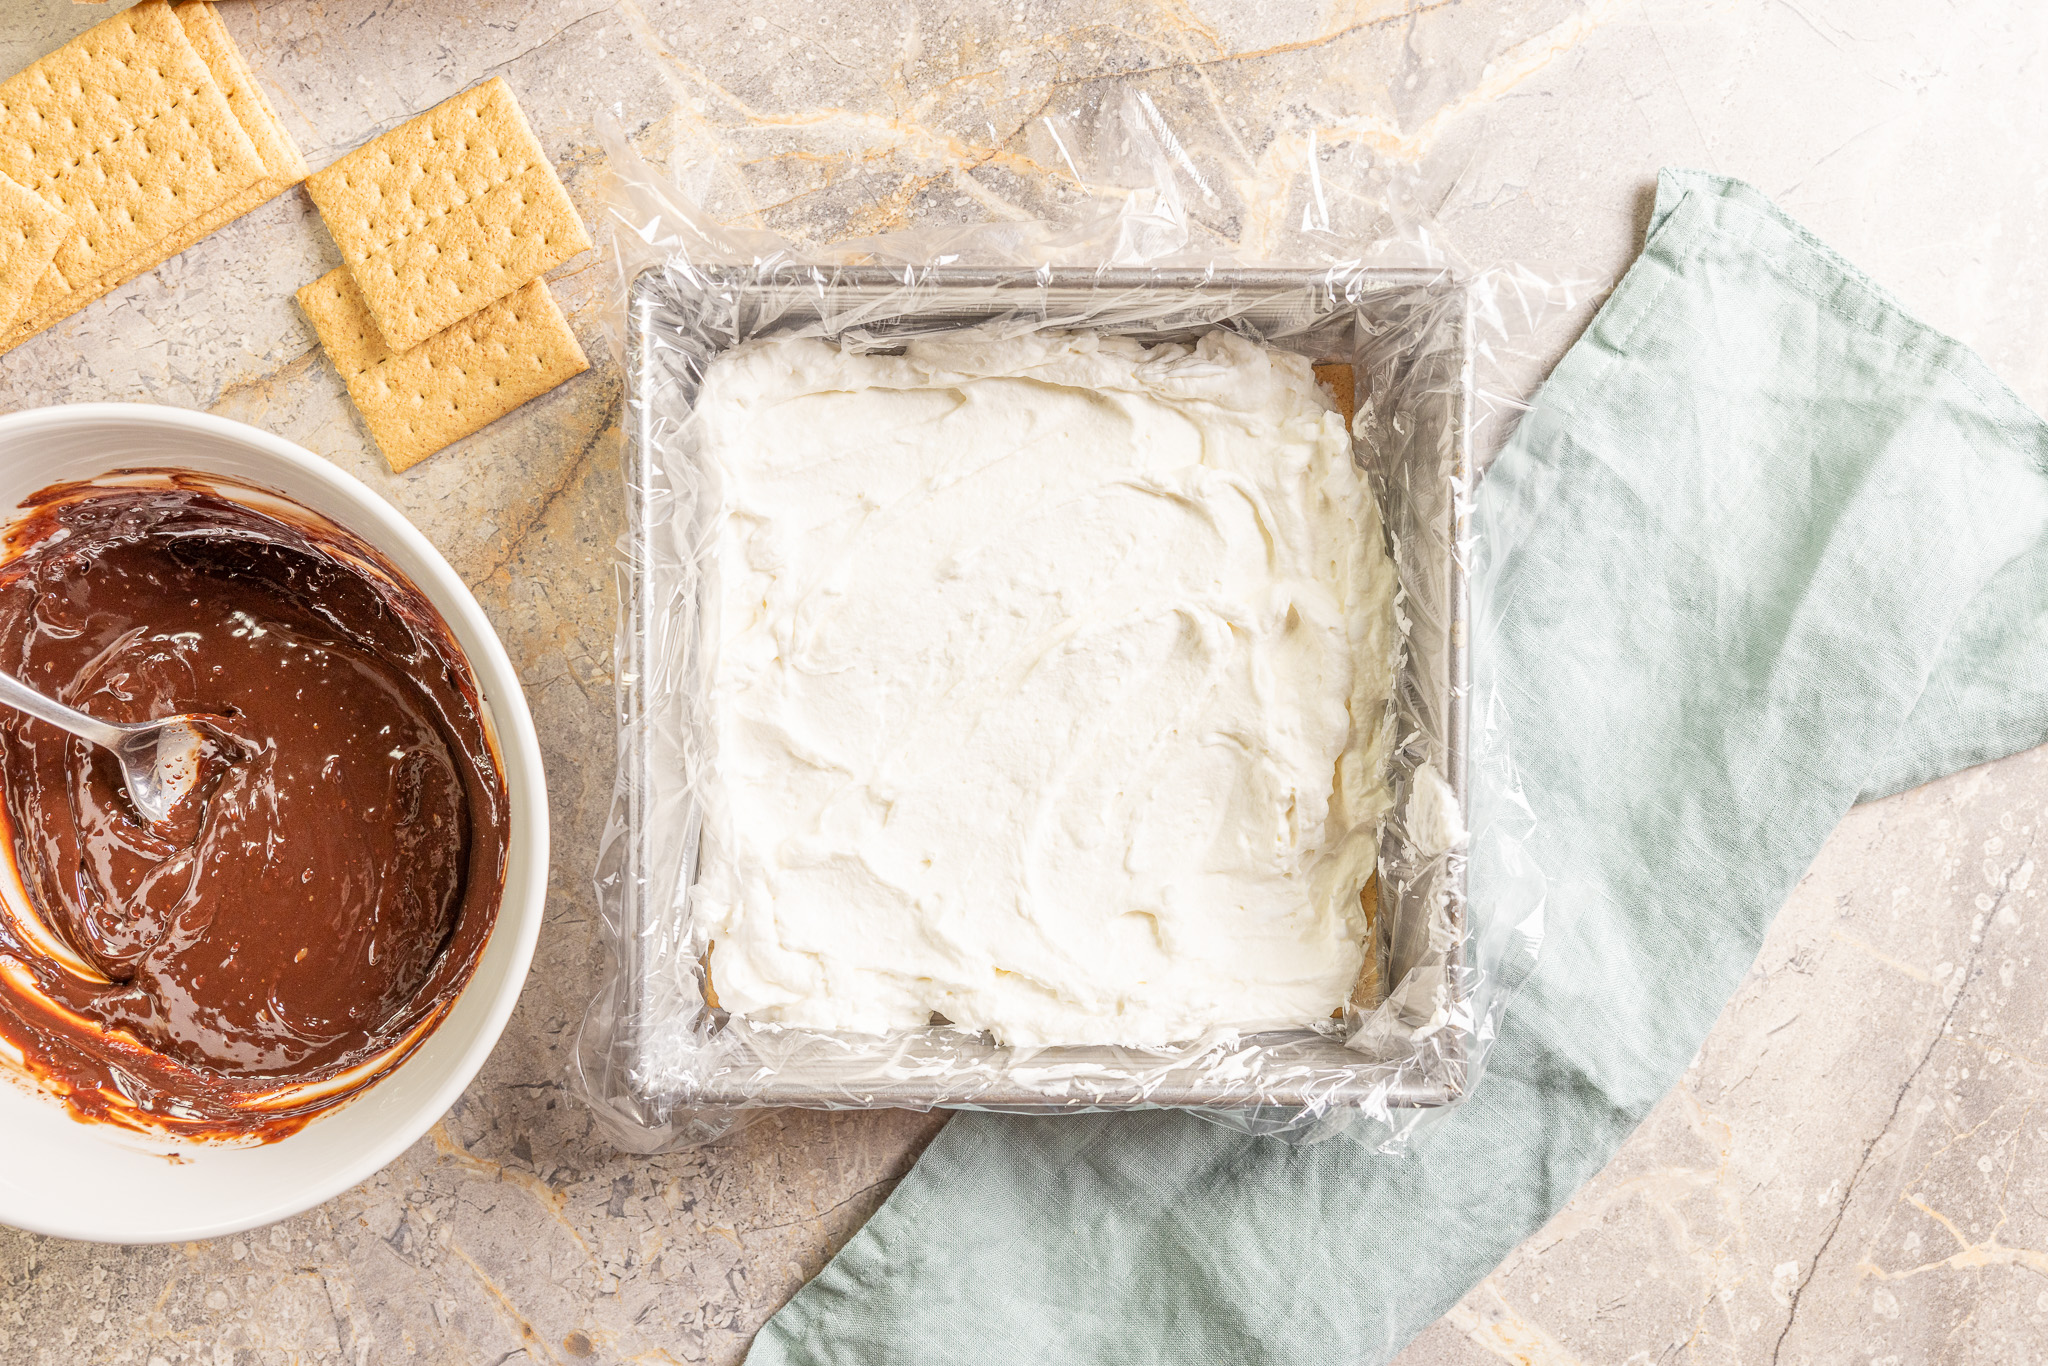
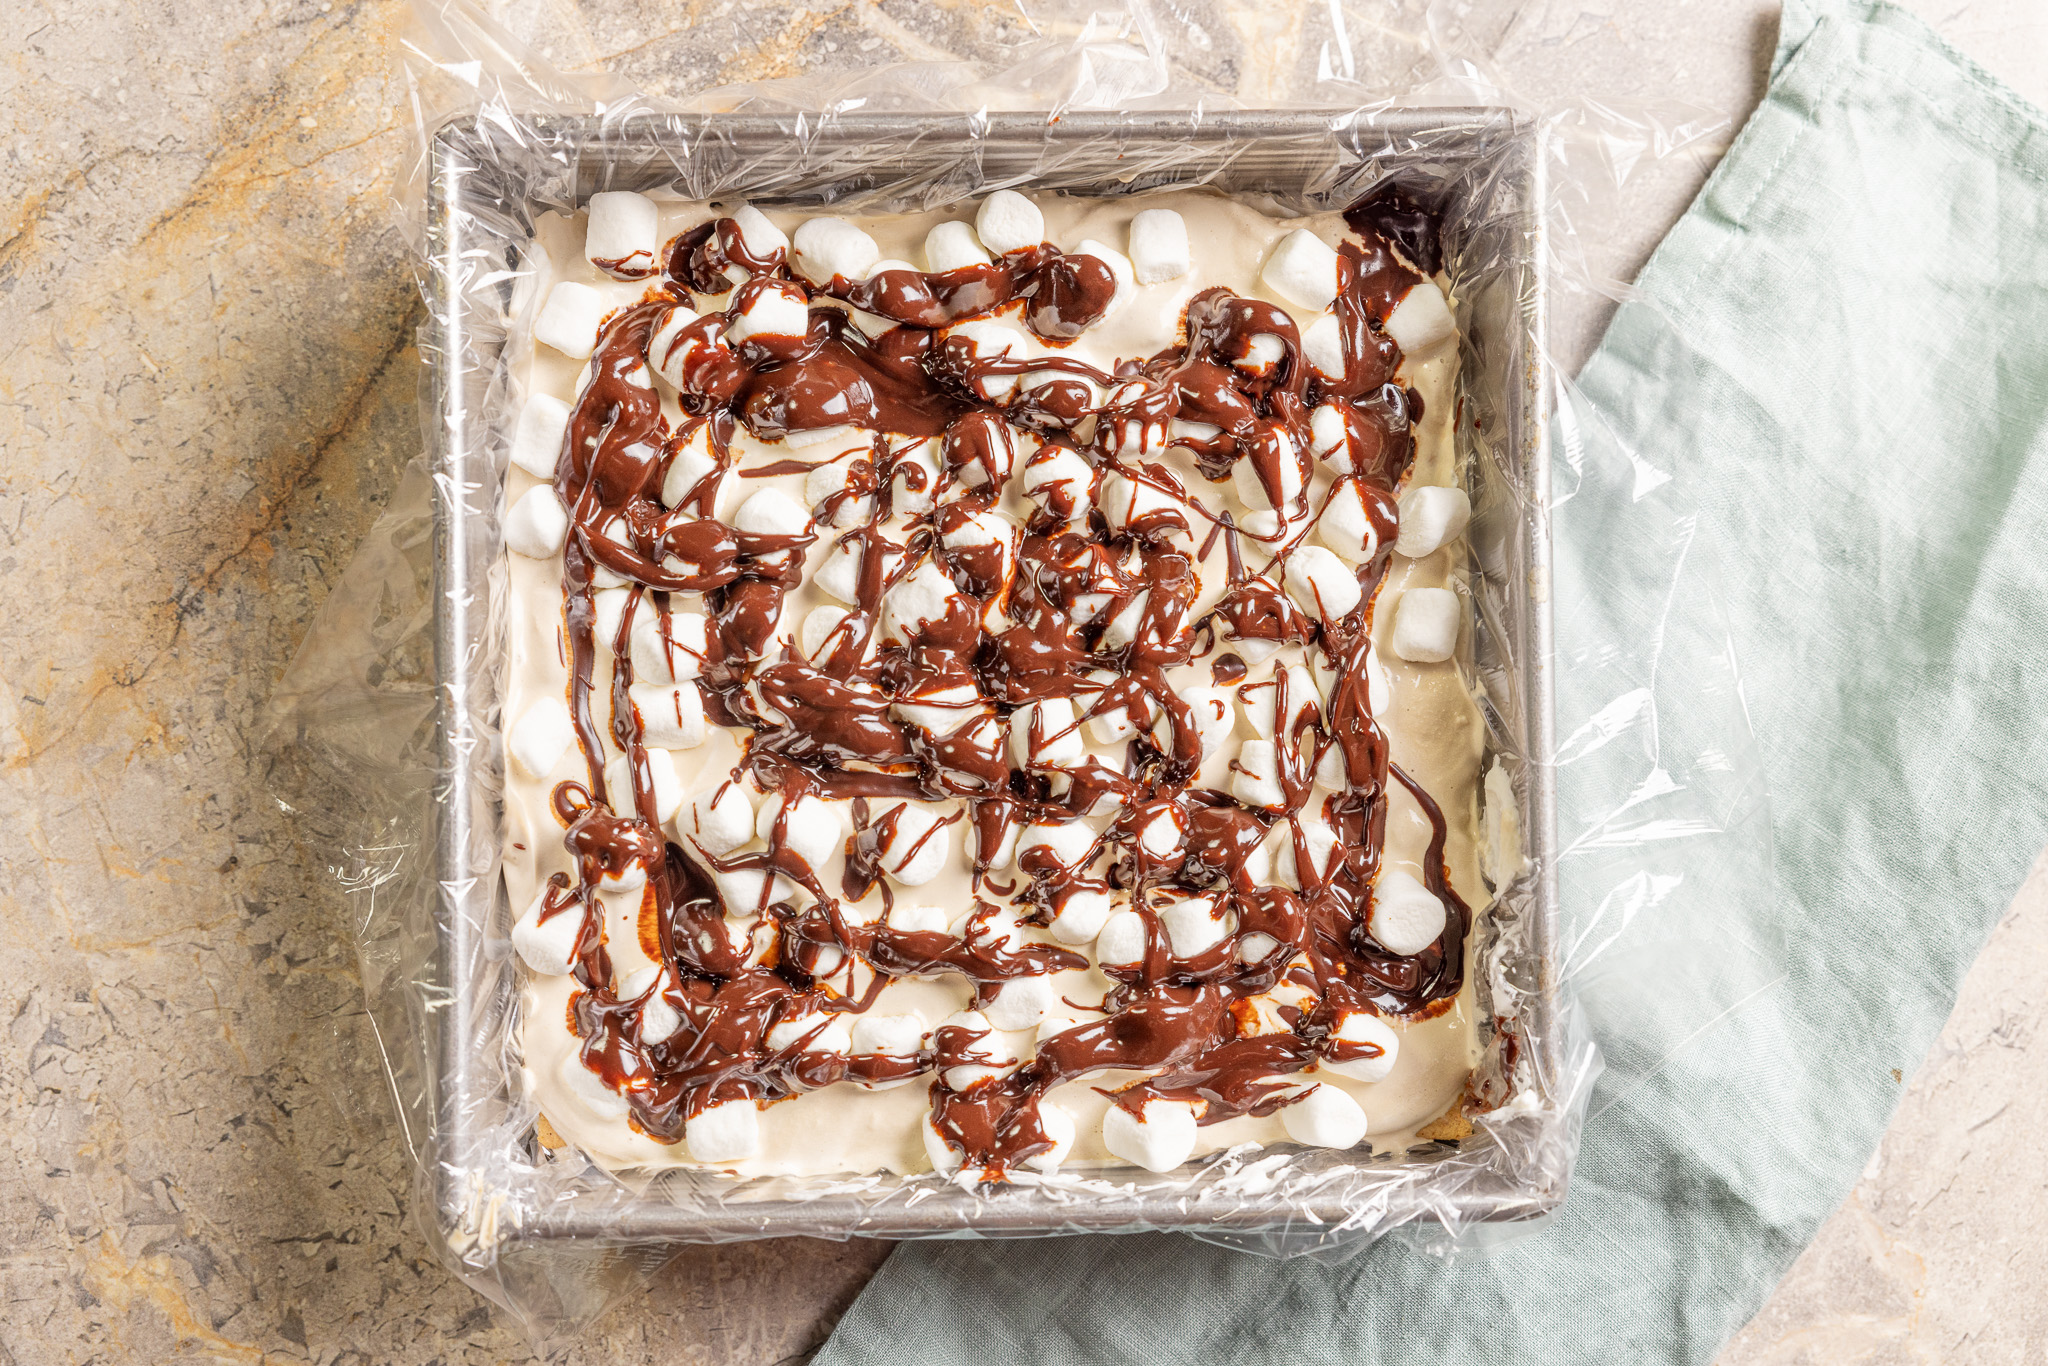
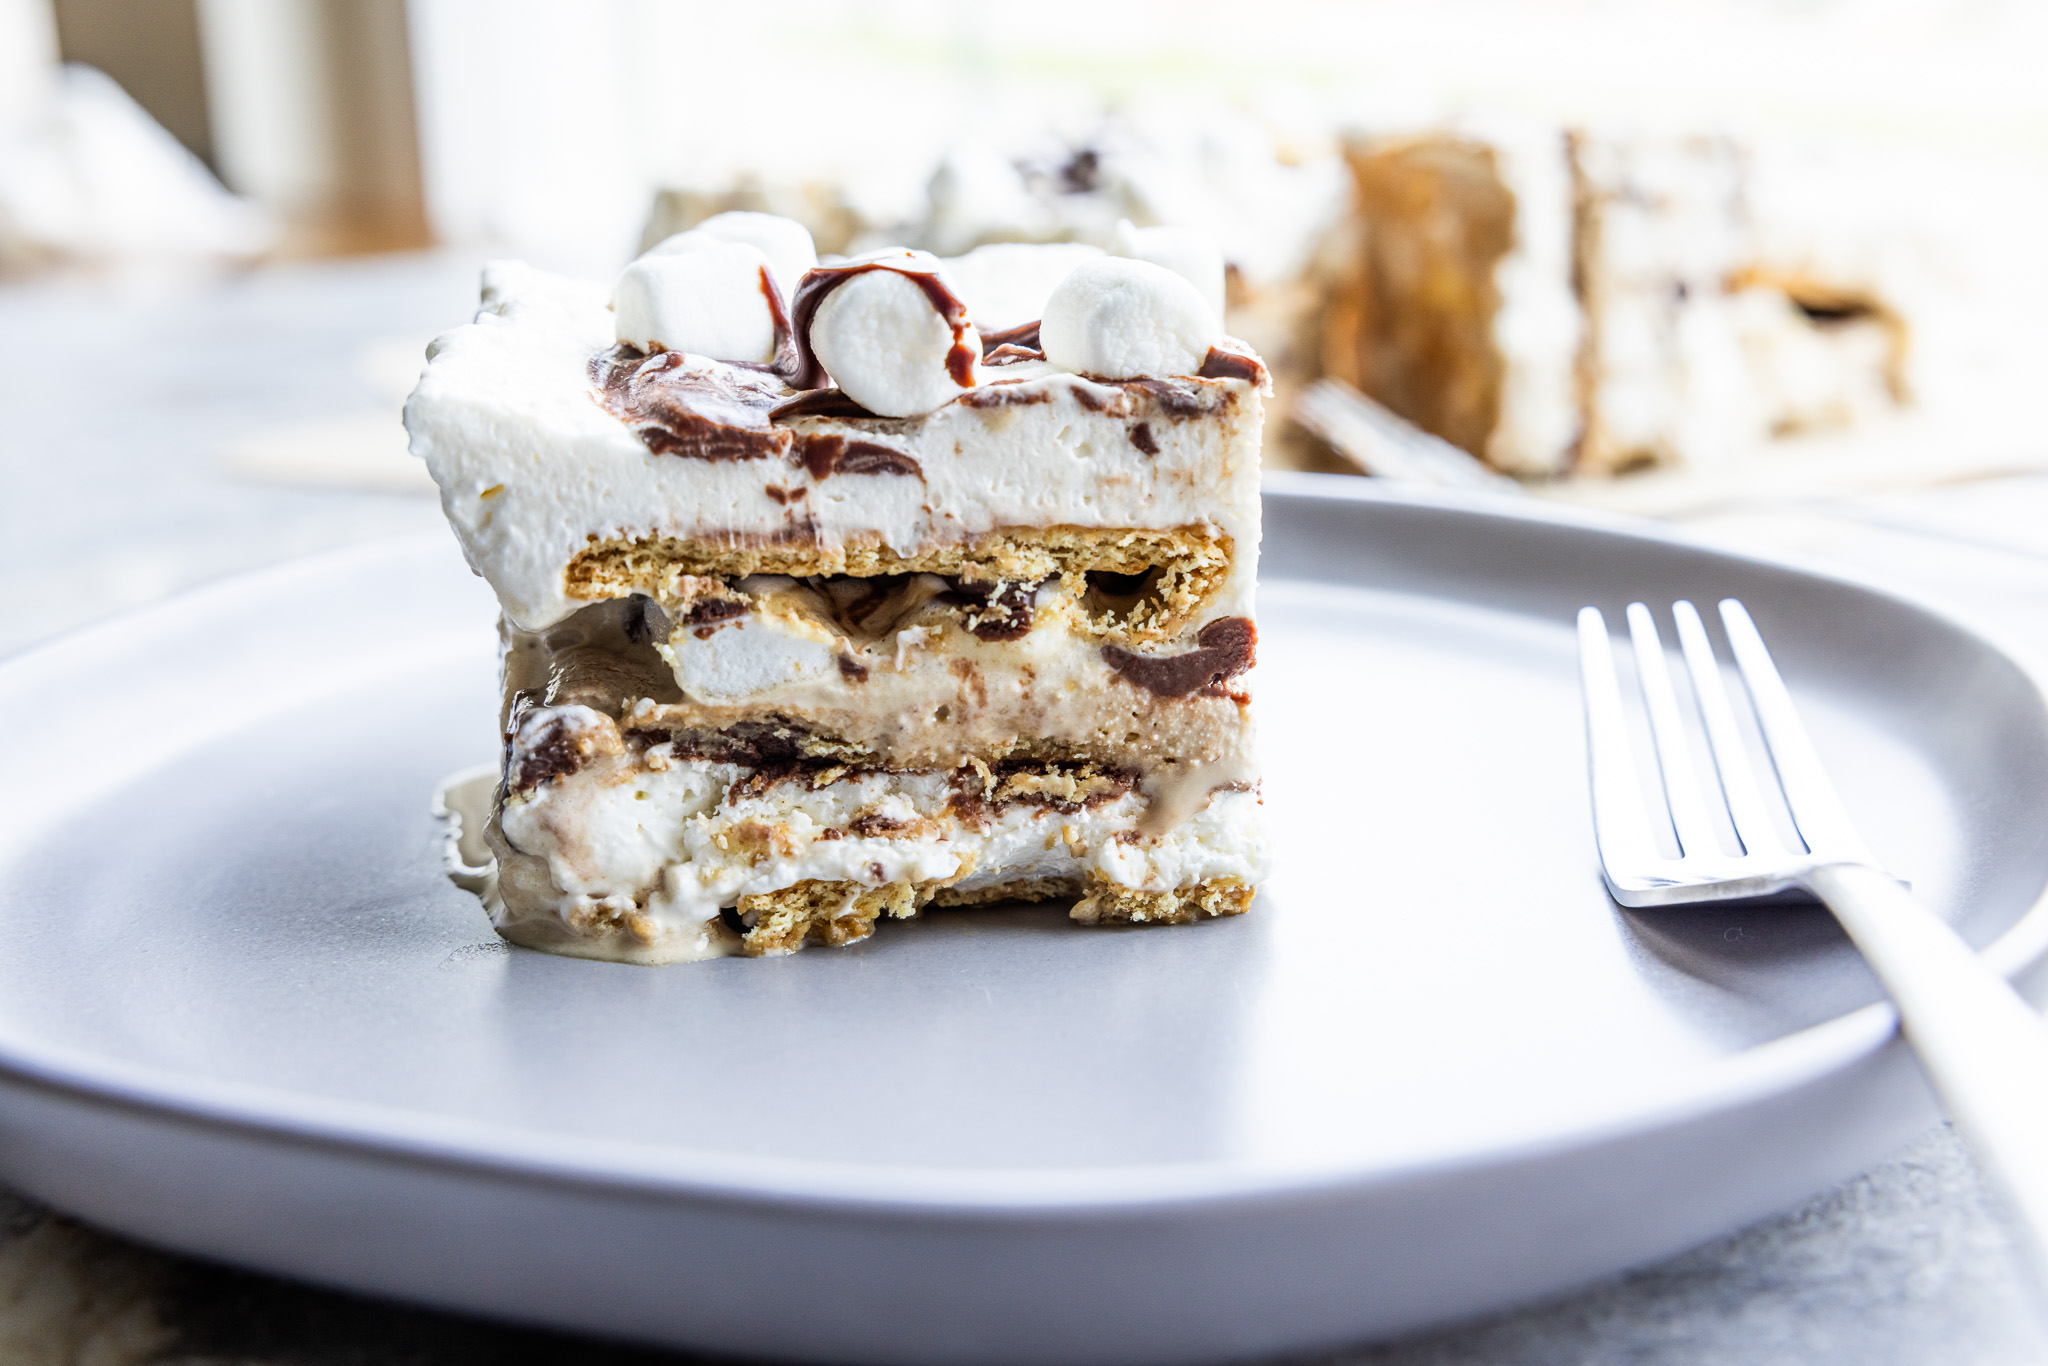
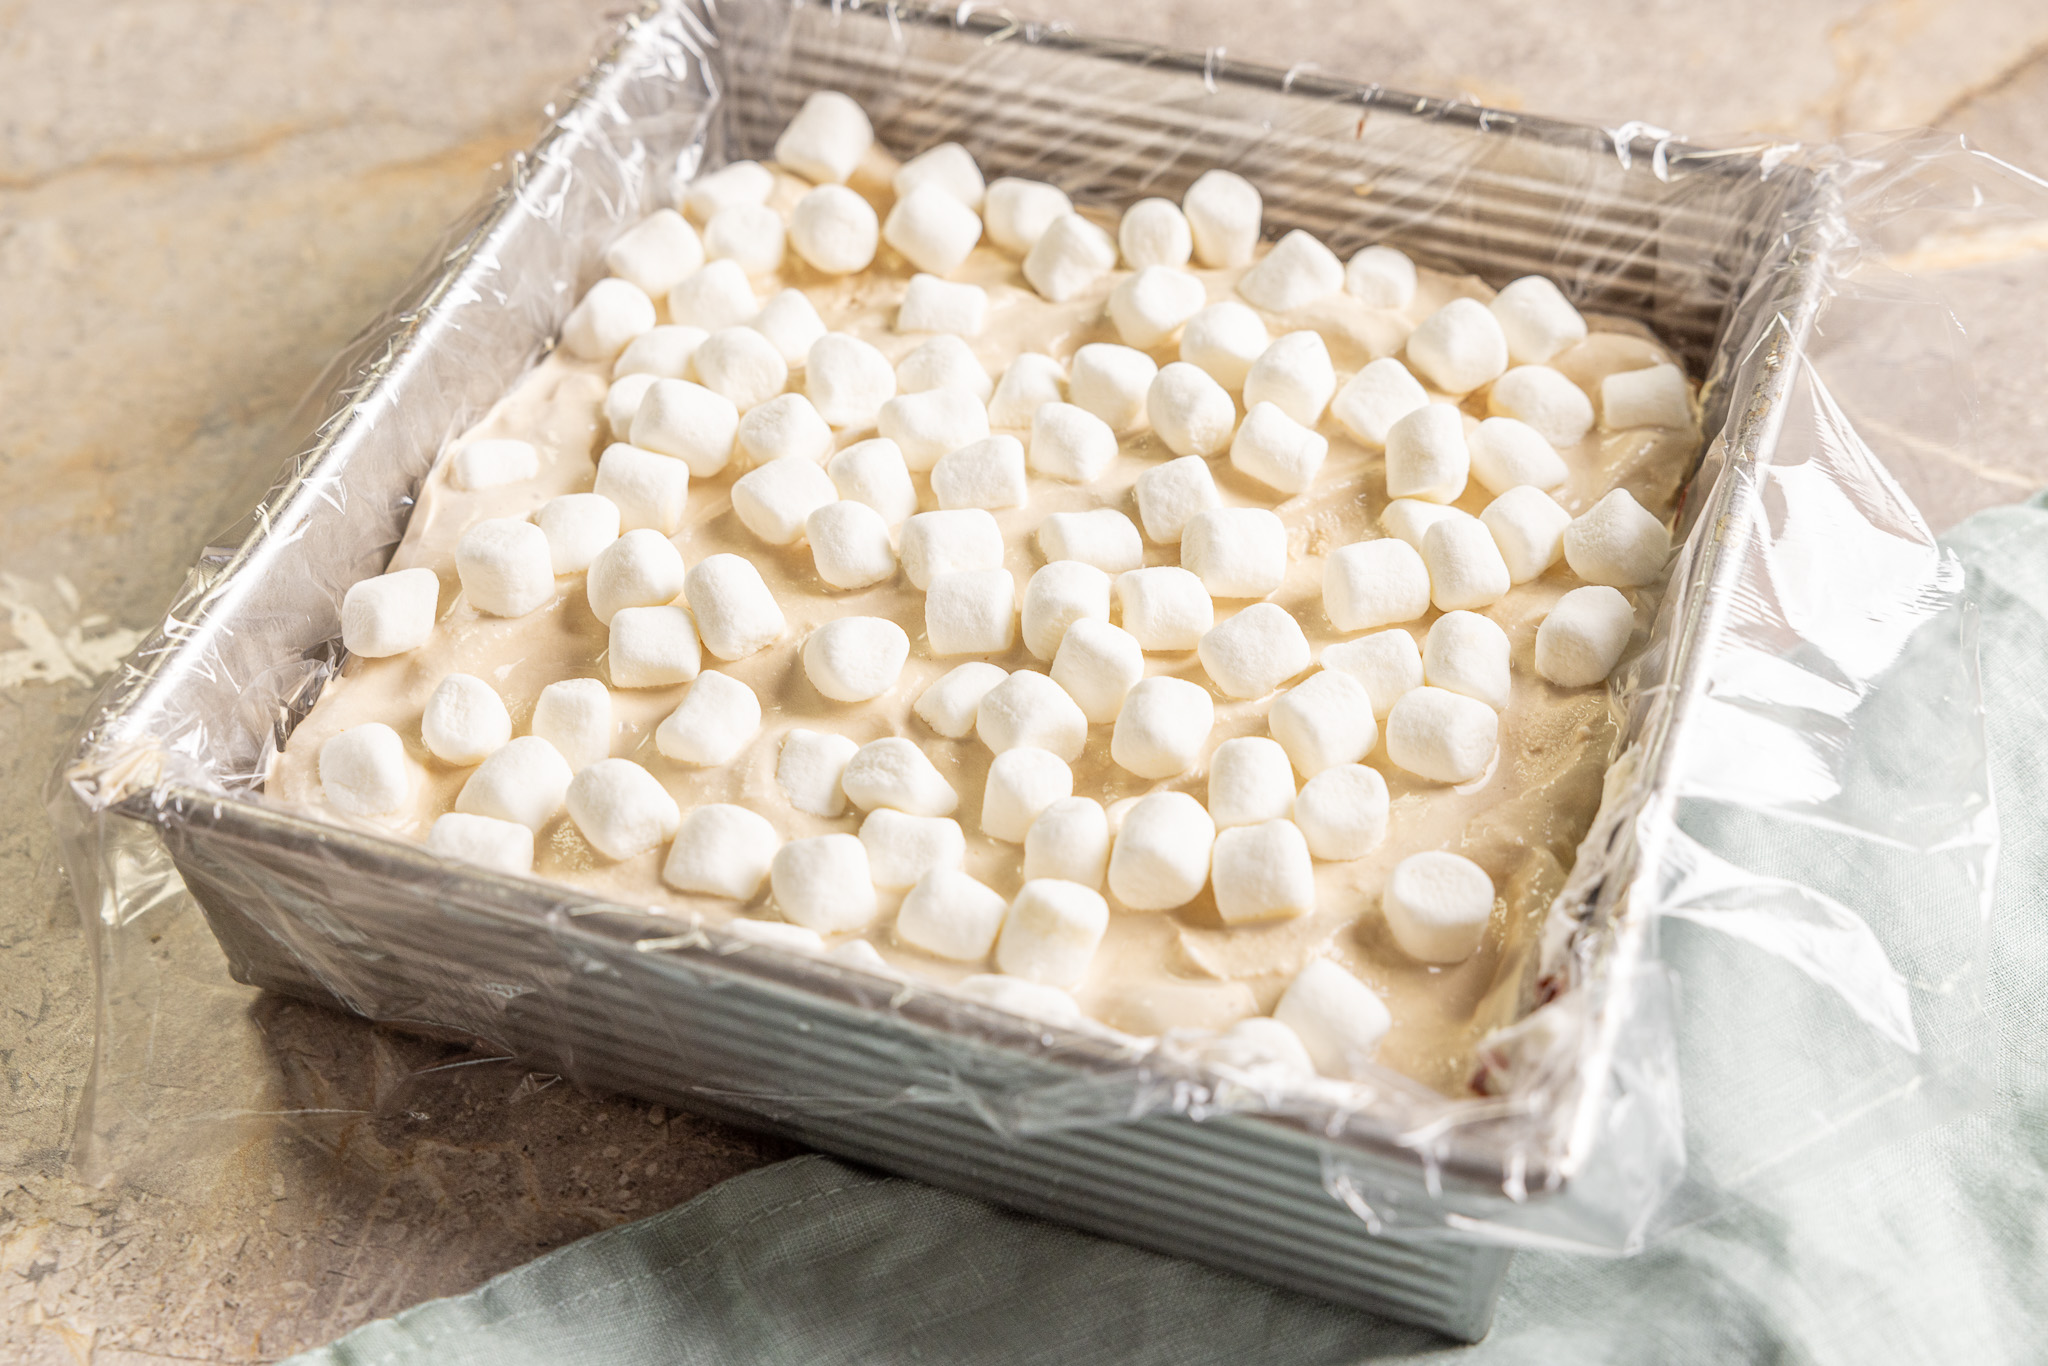
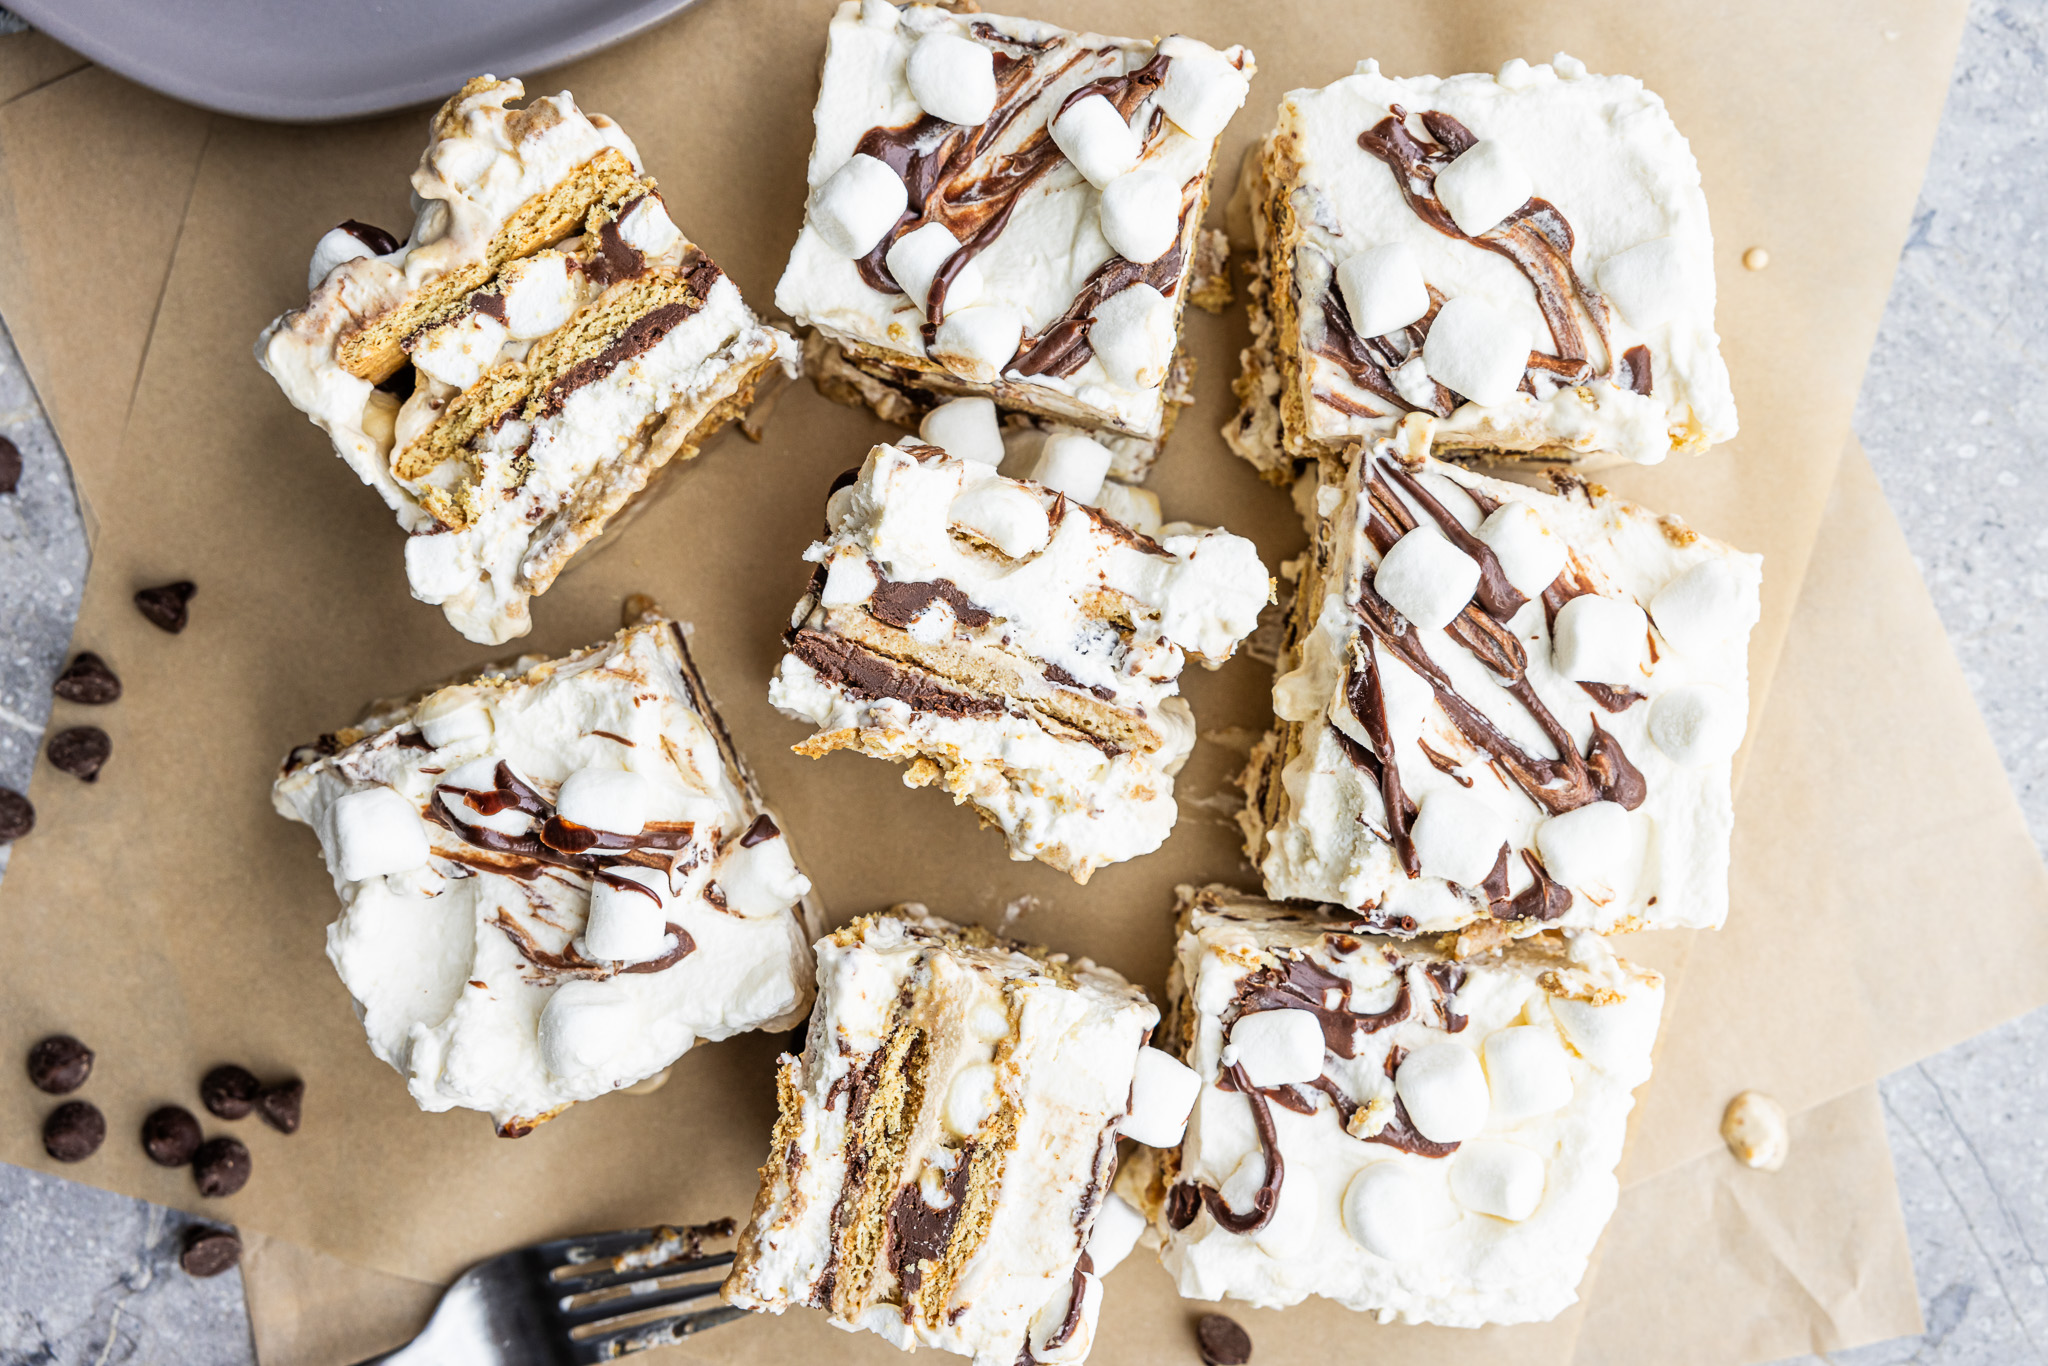
Then, start layering the cake with whipped cream, chocolate ganache, and another layer of graham crackers. Next, layer the ice cream, mini marshmallows, and chocolate ganache. Continue layering the cake until you've used all the ingredients, finishing with mini marshmallows on the top.
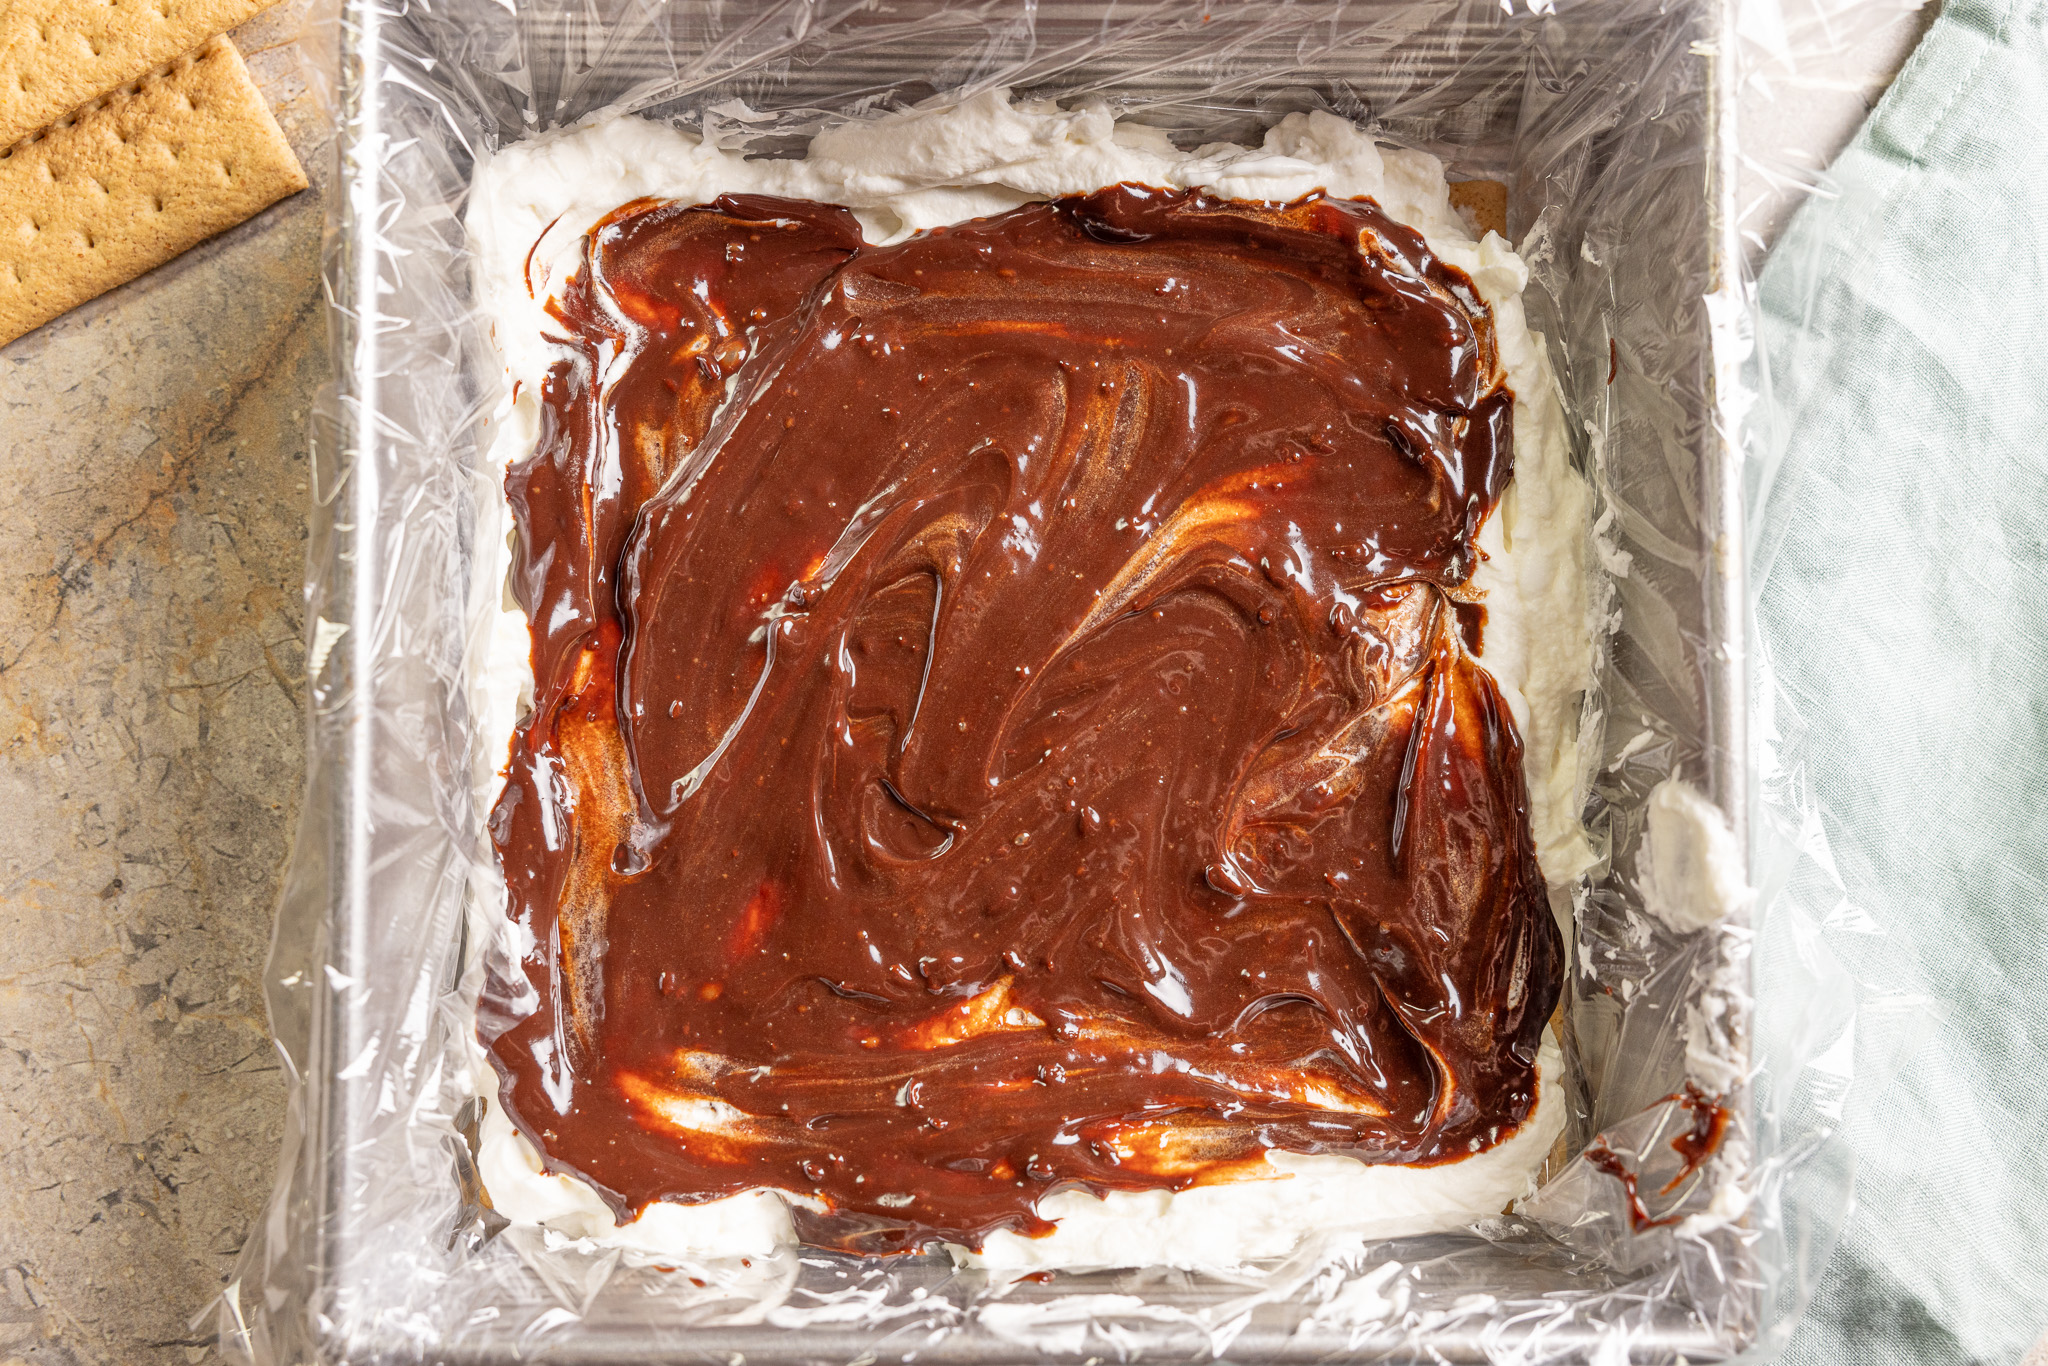
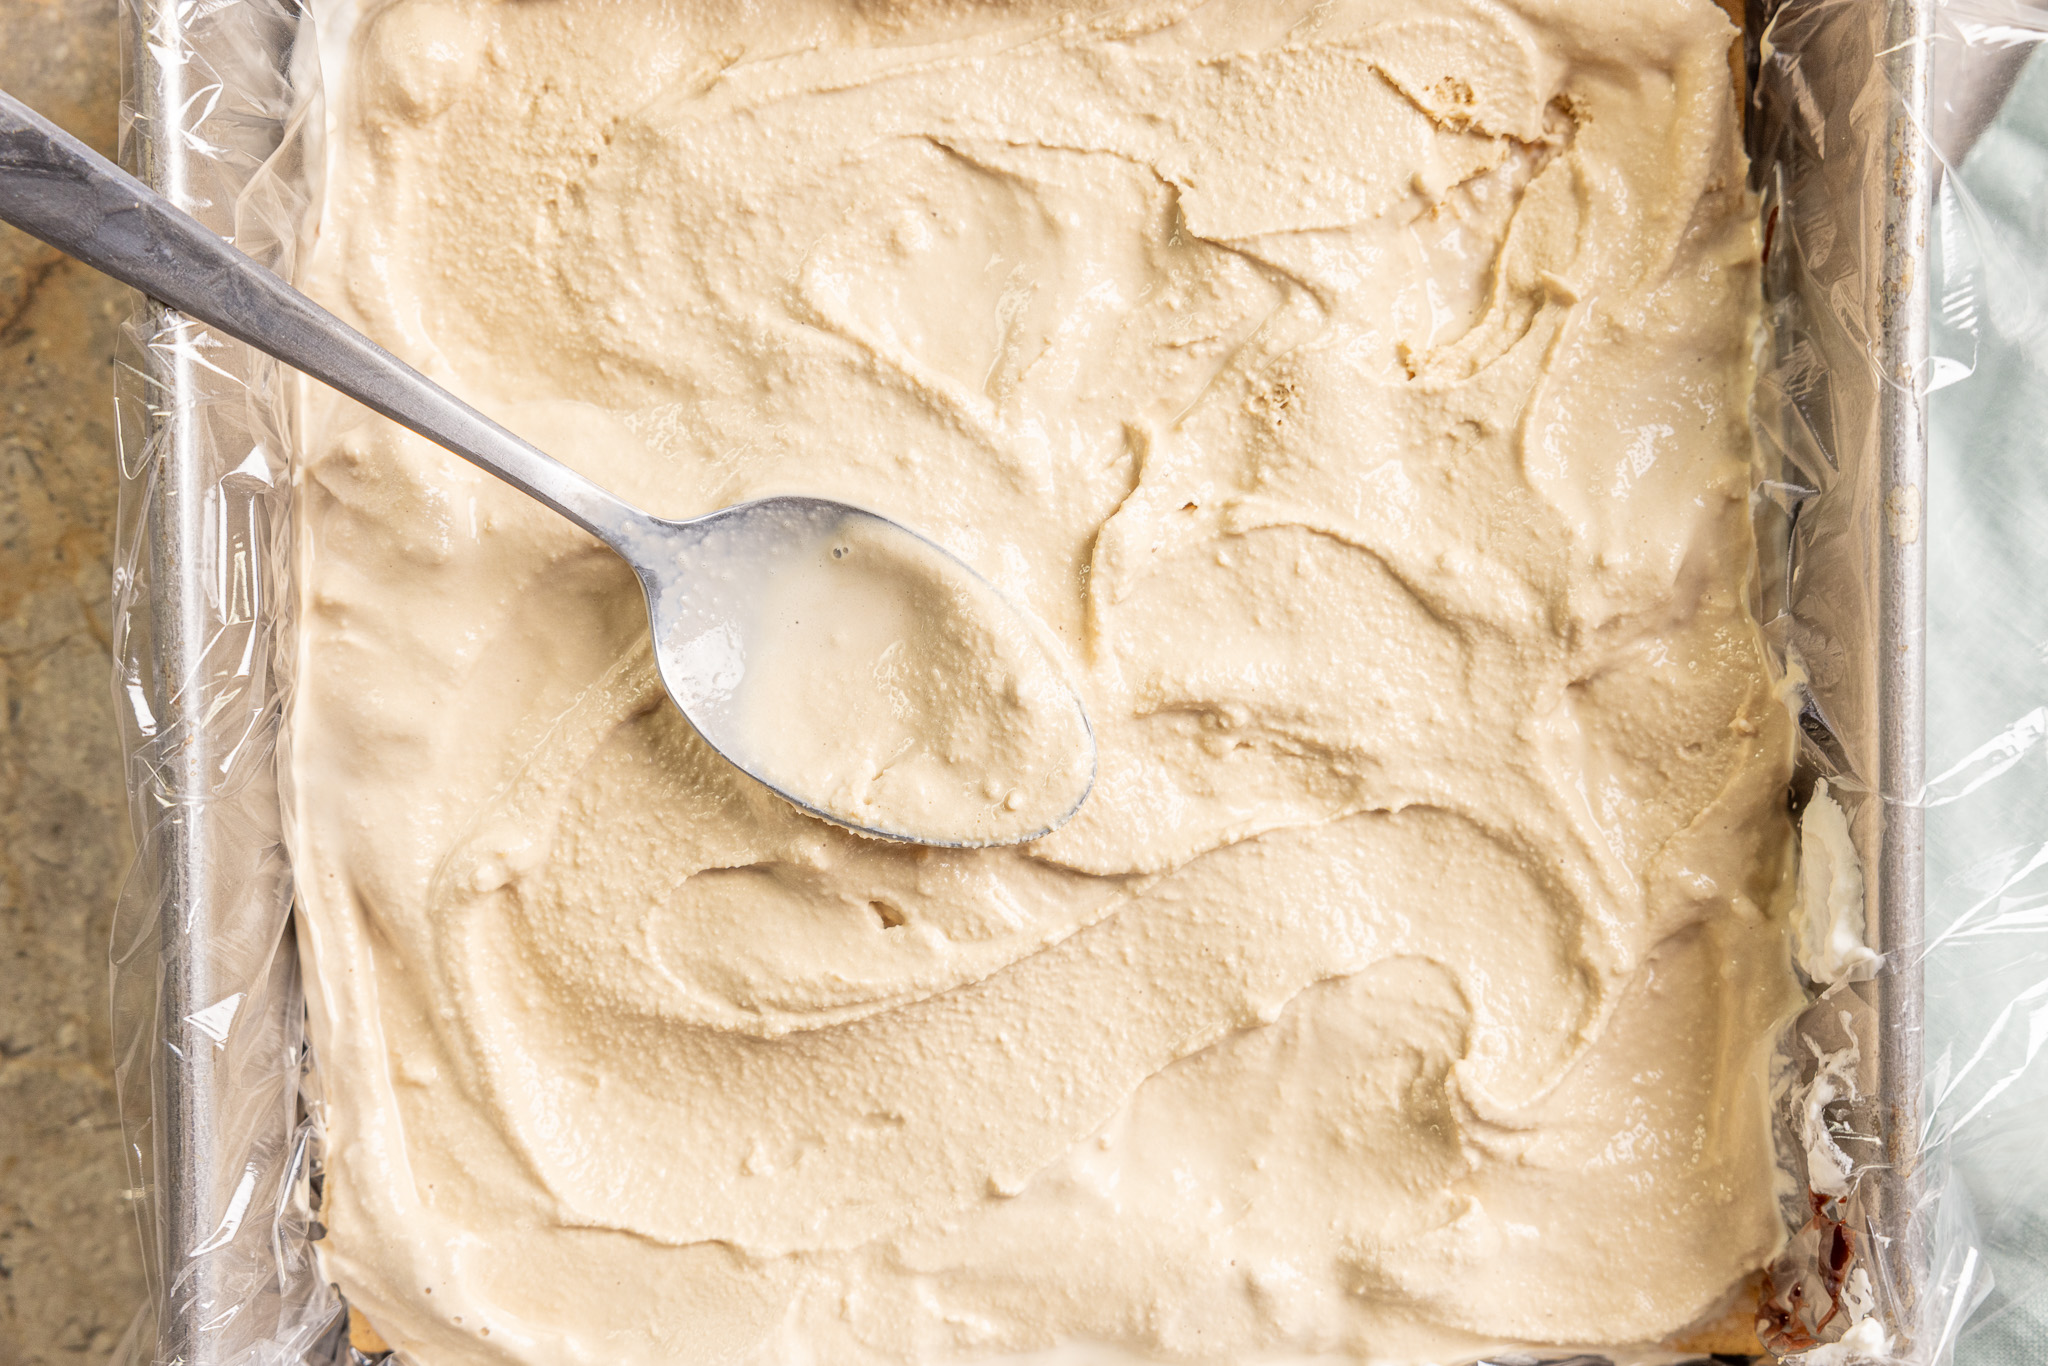
The key to getting even layers is using a spatula to smooth out the whipped cream, ganache, and ice cream. If you skip this step, your cake layers (and the cake itself) will be uneven, leading to some slices with more or less of each of the ingredients.
Freezing the Icebox Cake
The extra plastic wrap in your pan comes in handy here, as you'll use it to cover the top of the cake. Then, allow the cake to sit in the freezer for at least four hours. By putting it in the freezer, you're letting the cake set/harden. This step makes it easier to cut the cake later.
You can leave the cake in for up to eight hours, though it may not be necessary. As long as the cake has set, you can serve it. Ensure you let the cake warm slightly before slicing it by letting it sit at room temperature for a few minutes. You can also put it in the refrigerator to allow it to soften slightly. Then, you can remove the cake from the pan using plastic wrap to lift it.
Cut even slices in the cake, and serve it. If you want a more elegant appearance, try sprinkling powdered sugar on the slices.
*Traditional icebox cakes that don't have frozen ingredients like ice cream don't need to be placed in the freezer but rather in the refrigerator to set.
Tips and Tricks
Feel free to mix up the flavors of this no-bake dessert. Instead of making a coffee smores icebox cake, you can fill it with fresh strawberries and whipped cream. You can even fold in sprinkles for a fun, colorful treat. Other fillings you may want to include are peanut butter, vanilla pudding, and chocolate pudding. These ingredients all set well to make a delicious icebox cake.
If you and your guests can’t finish the icebox cake in one sitting, you can cover it with foil, put it back into the pan, and keep it frozen. It will last up to one month in the freezer with this method.
Avoid leaving the icebox cake in the fridge for an extended period. If you do, you'll be left with a soggy, melted, shapeless cake. Once you're done eating it, store leftovers in the freezer.
Another important note for icebox cakes is to ensure you pick a crunchy option when selecting a cookie or sweet cracker for the base. Soft cookies get mushy during layering and don't hold up well in the freezer. If you pick a crunchy cookie, it can absorb some of the liquid from the layers while keeping its form fairly well.
If you have leftover ingredients from making this recipe, there are plenty of desserts you can craft to avoid food waste. Here are a few of our favorite sweet recipes to create at home: Homemade Brownies with a ganache frosting, Caramel Apple Trifle, and Canoli.
Click the link below to watch the recipe video for our S'mores and Coffee Icebox Cake!
