Few recipes cause panic and fear among bakers more than scones and biscuits. Too flat, too dry, too moist, too crumbly. The perfect balance seems as unachievable as Goldilocks and her porridge. But not so!
Toss out everything you've heard about scones and forget about the overbaked, bland variety that sits forgotten in the coffee shop. We're sharing how to master the perfect scone. It's the perfect hybrid of a biscuit and a cake - crumbly, moist, and full of flavor.
These simple tips elevate basic scone recipes to the next level. And once you're comfortable, you can experiment with your favorite flavors - fruit, chocolate chips, lemon, blueberries, raspberries, spices, and really anything, including savory scones.
With the holidays just around the corner, we have one thing on our mind: eggnog. As a nod to our favorite custardy treat, these Spiced Eggnog Scones are the perfect addition to your holiday brunch. The recipe whips up fast and you can make the dough the night before for easy baking in the morning.
A quick note on semantics. Here, we're talking about American Scones - the slightly sweet, triangle variety that makes a perfect companion to a cup of coffee or tea. These are not American Biscuits (the circular treat full of buttery, flaky layers) or English Scones (the more crumbly cousin to the American Biscuit).
Step One: Freeze the Butter
As with most pastries, cold butter is essential for that irresistible crumb. Start by putting your butter in the freezer for at least 2 hours. You can also store a stick or two of butter in the freezer so you're always prepared for last-minute scones.
As you work through the recipe, pay attention to the temperature of your butter. Work quickly through the steps and use a work surface located away from your oven or vent. If your butter begins to soften put the mixture in the refrigerator or freezer for a few minutes before proceeding.

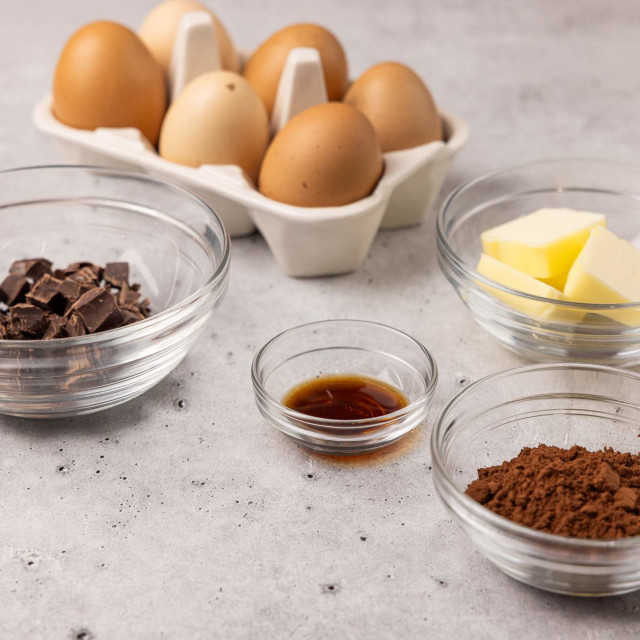
Step 2: Gather Your Ingredients
This step sounds simple, but it's key to moving quickly and ensuring you haven't forgotten anything. Gather your dry ingredients, egg, vanilla extract, and chosen toppings or add-ins.
Chefs call this step mise en place - or everything in its place. Adding a pause to collect and measure your ingredients to any recipe will help you prepare, and we find it makes the entire process more pleasant and relaxing. (A glass of wine helps, too.)
Step 3: Measure and Prepare
Measure and whisk (or sift) your flour, baking powder, sugar, salt, and spices in a large mixing bowl. You can set it aside, or you can also place the bowl in the refrigerator as you proceed with the next step to chill (this will also help keep your butter cold in later steps).
We prefer to measure our flour by weight to ensure the correct amount, but you can also scoop flour by the spoonful into a measuring cup and level off.

Step 4: Grate the Butter
Working quickly, grate your frozen butter onto a chilled plate or bowl. Be mindful of the temperature of your hands during this step, and don't let the butter thaw or soften as you handle it.
Keep the wrapper on during this step, folding it back so the wrapper covers the upper half of the stick of butter and provides a barrier for your hands. If it's a hot day, you can wear gloves during this step.

Step 5: Keep the Mixture Cold
Once the butter is grated, drop it into the bowl with the dry ingredients and give it a gentle toss to lightly coat the butter with the flour mixture. Then, place the bowl back into the fridge to chill as you measure and whisk the wet ingredients.

Step 6: Don't Overmix
You've taken care to create perfect little nuggets of cold butter. Make sure to mix gently and keep the butter intact to create a moist, crumbly texture.
Start by incorporating the butter and dry ingredients with a fork or pastry cutter. Press the fork or cutter into the mixture repeatedly, rotating the bowl and distributing evenly. Move quickly to keep that butter cold, and stop when you reach pea-sized crumbs. If unsure, larger clumps are always better than smaller ones!
Next, drizzle your liquid over the mixture and use a fork or spatula to gently fold until just combined. The consistency should be relatively dry, but all of the flour should be incorporated. If there is remaining flour in your bowl add more liquid (1 tablespoon at a time) and gently fold until incorporated.
It can be hard to eyeball the right consistency the first time you make scones (or biscuits). We often find it helpful to stop after incorporating the first addition of liquid, and then dump the mixture on a work surface to bring it together (quickly) with our hands.

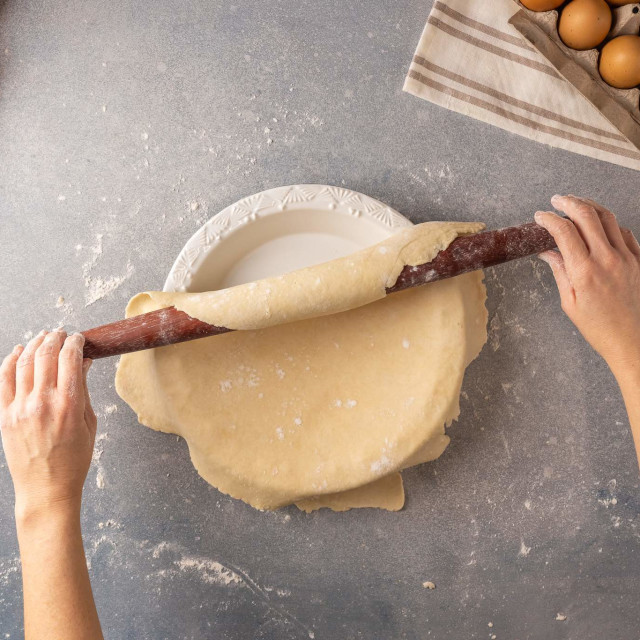
Step 7: Shape Quickly
When you have reached the right consistency, shape the dough into an 8-inch disc on a lightly floured surface. It should be 1/2 to 3/4-inch thick.
Use a pastry cutter or knife to cut the disc into eight pieces (like a pizza). Pick up each piece and place it on a baking sheet or plate. You can keep the dough in a disc shape but ensure there is 1/4 to 1/2-inch separation between each piece.
Step 8: Chill the Dough
Place the plate or sheet with dough in the refrigerator to chill for at least two hours, or overnight. You might be tempted to skip this step, but trust us, it's worth it!
Chilling the dough will help maintain the butter and create a loftier scone. This is the perfect opportunity to make scones ahead and bake fresh in the morning (hello, life hack). You can also freeze the scones here and bake at a later date.

Step 9: Bake!
Your scones are chilled and ready to bake! Place on a baking sheet lined with parchment paper in the oven at 400°F and bake for 18 to 25 minutes. (Bake time may need to be increased if you froze your scones.)
Scones will naturally spread in the oven as they bake. If you prefer neat and tidy scones, pull the baking tray out of the oven about halfway through the bake and use a spatula to gently add pressure to the sides of each scone to reshape. (This step is not essential but does lead to the most Instagram-worthy scones.)

Step 10: Prepare Icing or Toppings
While your scones are baking, make any icings or toppings. Our Eggnog Scones combine a little more eggnog with icing sugar for an added drizzle of flavor.
Many recipes use a simple glaze to finish the scone. And, who doesn't love a lemon zest glaze with fresh blueberry scones? You can also pair scones with traditional accoutrements, like clotted cream or jam.
Serve and Enjoy!
Cool your scones for about 10 minutes once out of the oven and drizzle with icing or toppings. Then enjoy!
Your scones can be stored in an airtight container in the refrigerator for up to one week.
Ready to put those new skills to the test? Try our new Spiced Eggnog Scones