How to Make Vintage Whipping Cream Cake
This vintage recipe is originally from the 1970s, but it recently resurged on the popular “Old Recipes” Reddit thread and quickly garnered internet fame from there. When Jamie Moranz posted this whipping cream cake recipe from her husband’s grandmother in Iowa, it instantly went viral, and it’s easy to see why.
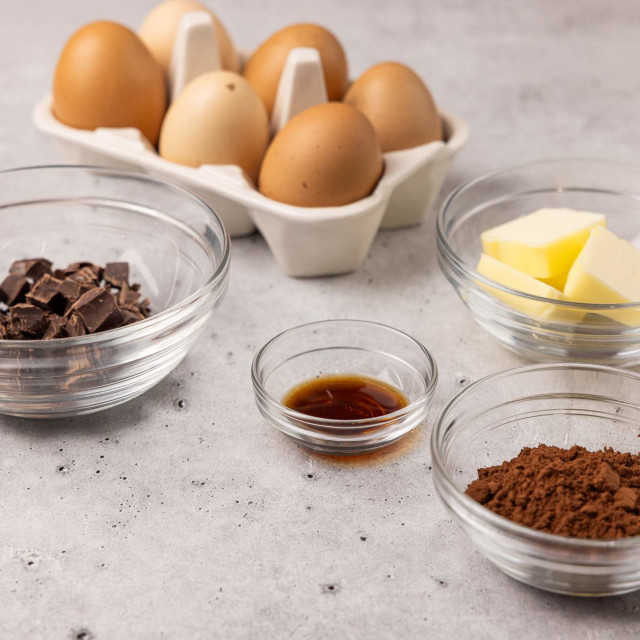
This cake recipe contains only 6 common ingredients that you are likely to already have on hand, and it’s positively simple to prepare. The result is a dense cake with a texture similar to pound cake, with this amazing buttery crisp outer layer. Plus, its simple vanilla flavor makes it a great choice for a variety of occasions like birthdays, holidays, or just your average Tuesday!
Tips & Tricks for Success
Although this cake recipe involves only a handful of ingredients and simple instructions, it can be a bit tricky to get just right, especially with the vague language of the original recipe. We’ll take you through it step-by-step with things to keep in mind for the best results.

Use Room Temperature Ingredients
It’s important that the ingredients used in this recipe are all at room temperature, specifically the eggs and the butter. When the butter and eggs are at room temperature, it makes them easier to fully mix together and incorporate air into the batter, leading to a better rise. It’s common for many recipes in baking to call for room temperature ingredients for this same reason.
And while we’re on the topic of ingredients, I’d recommend using superfine granulated sugar if possible. This is because it mixes more smoothly into the batter and may result in a finished product with a slightly lighter texture. If you can’t find it though, regular granulated sugar will also work.
Add Eggs One at a Time
It may be tempting to add all of the eggs at once, but there’s a reason this recipe instructs you to add the eggs one at a time, and that is to incorporate lift. You may have noticed that there’s no leavening agent in this recipe (i.e. baking powder, baking soda, or yeast). Instead, this cake relies on beating the mixture of butter, sugar, and eggs, very well to aerate the batter and provide lift.
To properly aerate the batter in the first steps of this recipe, first beat the butter and sugar thoroughly until the mixture is light and fluffy—this step is known as creaming.

Then, add the eggs one at a time and whisk thoroughly after each addition to add extra volume to the batter.


Alternate Additions of Cream and Flour
After you’ve mixed the butter, sugar, and eggs together, it’s time to add the cream and flour. It’s important to alternate the additions of cream and flour to offset the lack of a leavening agent. You want to just fold in these ingredients, or mix very lightly, to maintain the volume in the batter rather than deflate it by over mixing.

This recipe differs from most standard bundt cake recipes in this way. While most standard bundt cake recipes contain a chemical leavening agent such as baking soda or baking powder, this recipe relies on the mixing methods, also known as mechanical leavening, for the cake to rise properly.
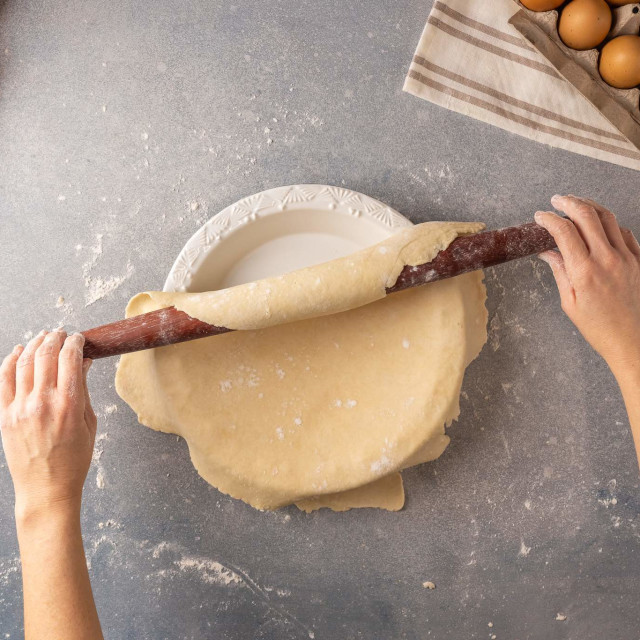
Grease the Pan Well
Greasing the pan well is essential for the bundt cake to release from the pan without sticking. To ensure you’re getting oil into all of the nooks and crannies of the pan, we’ve found it’s easiest to use either a pastry brush or cooking spray.

Many recipes recommend greasing a baking pan with butter, or butter and flour, but we do not recommend it. The milk fat that is present in butter can potentially burn and can actually cause the cake to stick to the pan. We recommend using a neutral oil such as refined coconut oil to grease your bundt pan.
Start in a Cool Oven
This is the part of the recipe where many readers get confused and has sparked many questions on Reddit. “A cool oven?! You mean you don’t want me to preheat the oven?!” That’s right. In this recipe, you turn the oven to 325°F after you place the cake in the oven. It’s the real oddity about this recipe that throws readers for a loop.
Starting off in a cool oven is important to get the right texture for this cake, which is meant to be quite dense and melt-in-your-mouth. It allows the cake to fully cook through without getting too dark on the outside. The batter is quite dense, making it slower to cook, so starting in a cold oven and slowly heating ensures it cooks evenly throughout. If you were to preheat the oven in this recipe, the outside would start to burn before the inside gets a chance to fully cook.
Let Cool in the Pan
Along with greasing the pan, the time and method of cooling a bundt cake is also critical to achieving a smooth flip and stick-free release from the pan. The first trick is to loosen the edges right when the cake comes out of the oven. To do this, run a butter knife or offset spatula between the cake and the pan to loosen the edges while it’s still hot to prevent sticking.

Then, allow the cake to cool for about 5 minutes upright before carefully flipping it over onto a cooling rack to let cool for another 5 minutes. Flipping it upside down to finish cooling should help the cake release smoothly from the pan.

To serve this versatile cake, you can top it with fruit, whipped cream, or your favorite glaze. But it’s also delicious just as is! We think it’s perfect finished with a light dusting of powdered sugar.