BigOven's Gude to Decorating Easter Eggs
Decorating Easter eggs is one of the best parts of the holiday because people of all ages can join in and show their creativity. It’s easy to do, fun, and you can make plenty of deviled eggs afterward! While there are plenty of commercially produced Easter egg decorating kits available, we think it’s more fun to use your imagination and items found in and around your home to decorate.
Set Your Stations
Dyeing eggs can be messy! We’ve experienced firsthand how lack of preparation can lead to stained tables, carpets, and furniture. So set up your supplies on a washable crafts table, or cover a table with a plastic tablecloth.
Create holders for the eggs to dry in with the bottoms of egg cartons or the cardboard tubes from paper towels cut into 2-inch sections. Have plenty of plastic spoons available to turn the eggs and remove them to dry; using just one will mix the colors and ruin their vibrancy.
Keep paper towels on hand to quickly clean up drops and spill. Most coloring solutions call for white vinegar, which helps the color bind to the eggshells. If you are using other mediums to decorate the eggs, add a tablespoon of vinegar to the water you boil them in. We recommend doing this craft outside if you have the option to do so!
Silk Dyed Eggs
Silk dying is tried and true technique that imprints the eggs with intricate designs and vibrant colors. It’s a great way to get a little bit more life out of old ties no longer being used. You can use old silk ties lying around or shop at your local Goodwill for cheap ones.
Remove the linings and tags and cut the fabric into pieces big enough to completely cover the egg. Wrap the eggs with the top side (the most colorful side) of the fabric against the shell. Wrap them again in cheesecloth or pieces of old pantyhose to keep the silk in place. The wrapping has to have a loose weave so the liquid can saturate the silk. Secure the outer wrapping on each end with rubber bands or twist ties. Place the eggs in a glass or enamel pot, cover them with cold water, add 3 tablespoons of white vinegar, and simmer for 20 minutes. Remove the eggs to a holder and when they’re cool enough to handle, remove the covering, and let them dry.
You’ll be surprised to see the beautiful designs and colors have transferred onto the eggshell!
Tye Dye Eggs
You can make tie-dyed eggs by placing hard-boiled eggs in a colander, splashing them with vinegar, and dripping yellow food coloring on them. Slowly roll them around in the colander to get color on all the eggs. After 30 seconds, add a different color and repeat the process. When the colors have set, gently rinse the eggs with water and let them dry.
Marbled & Speckled Eggs
This method requires squares of aluminum foil cut big enough to cover an egg. Crumple it up and carefully unfold it flat on the tabletop. Coat the foil with acrylic paint and wrap it securely around the egg to make the paint stick. Unwrap and let dry. You can also coat bubble wrap with paint and roll the eggs back and forth until the desired pattern is achieved. To make speckled eggs, dip an old toothbrush in paint and run your fingers over the bristles over the egg to create spots, splattering the color onto the shell.
Geometric and Abstract Eggs
Another easy way to create patterns on eggs is to cover light bulb sleeves or other small pieces of corrugated cardboard with acrylic paint and roll the eggs over the surface before drying. For eggs with geometric patterns, tie a string around hard-cooked eggs or encircle them with several rubber bands. Dye them in traditional coloring mixtures and let them dry. When you remove the string, the eggs will have white stripes all over them.
Textured and Crafted Eggs
Hard-boil some eggs and while they are still warm, roll them in a shallow pan with grated crayons in it. The heat will melt the crayon and create a colorful, bumpy finish. You can also rub the warm eggs with several different layers of crayon to get a heavier coating. Less messy options include using ribbon sections to wrap around the egg, secured with a dot of household glue, or attaching stickers from craft and hobby stores to the shells. For personalized eggs, place adhesive, cursive alphabet letters on each egg, dye them, and remove the letters to reveal the monogram.
Pastel Eggs
You can make pastel-colored eggs with just a little bit of food coloring dye and shaving cream! Simply add shaving cream to a plate or dish. Use a few drops of food coloring and a toothpick to gently mix the dye into the shaving cream. Gently roll the eggs in the shaving cream and leave them overnight. Wash off with cold water to reveal pastel-colored eggs.
It’s Only Natural
Take out the worry of chemicals and harsh dyes by making natural dyes with food!
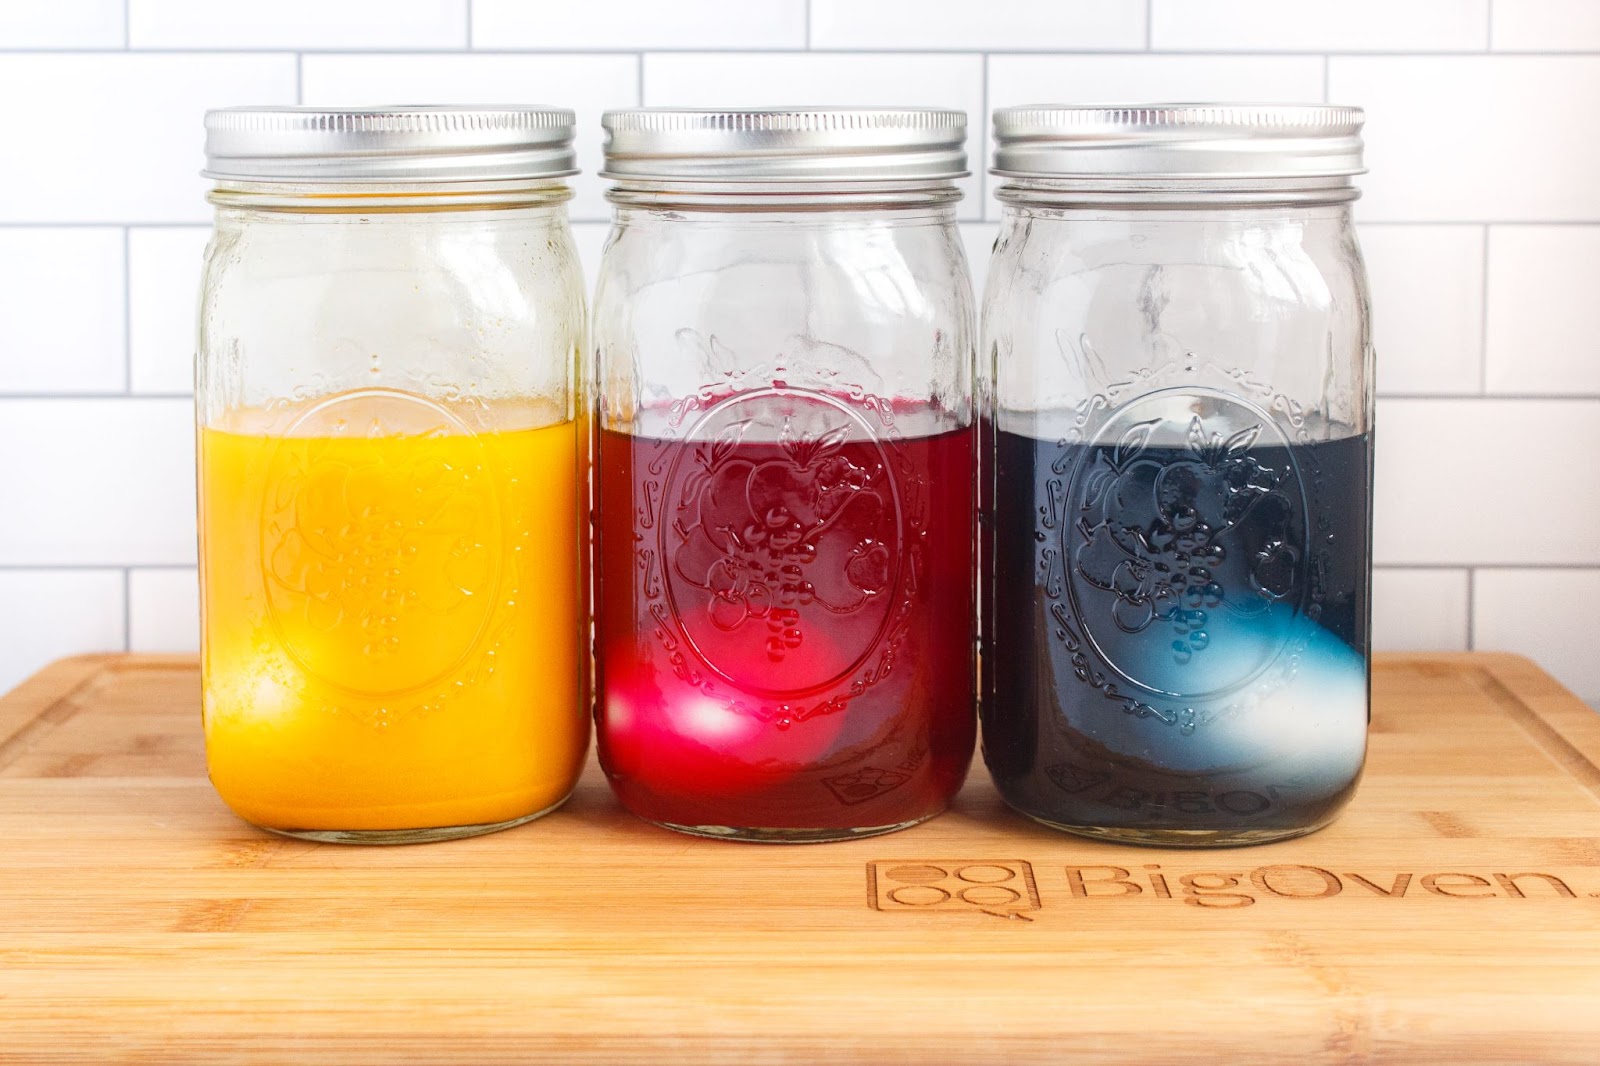
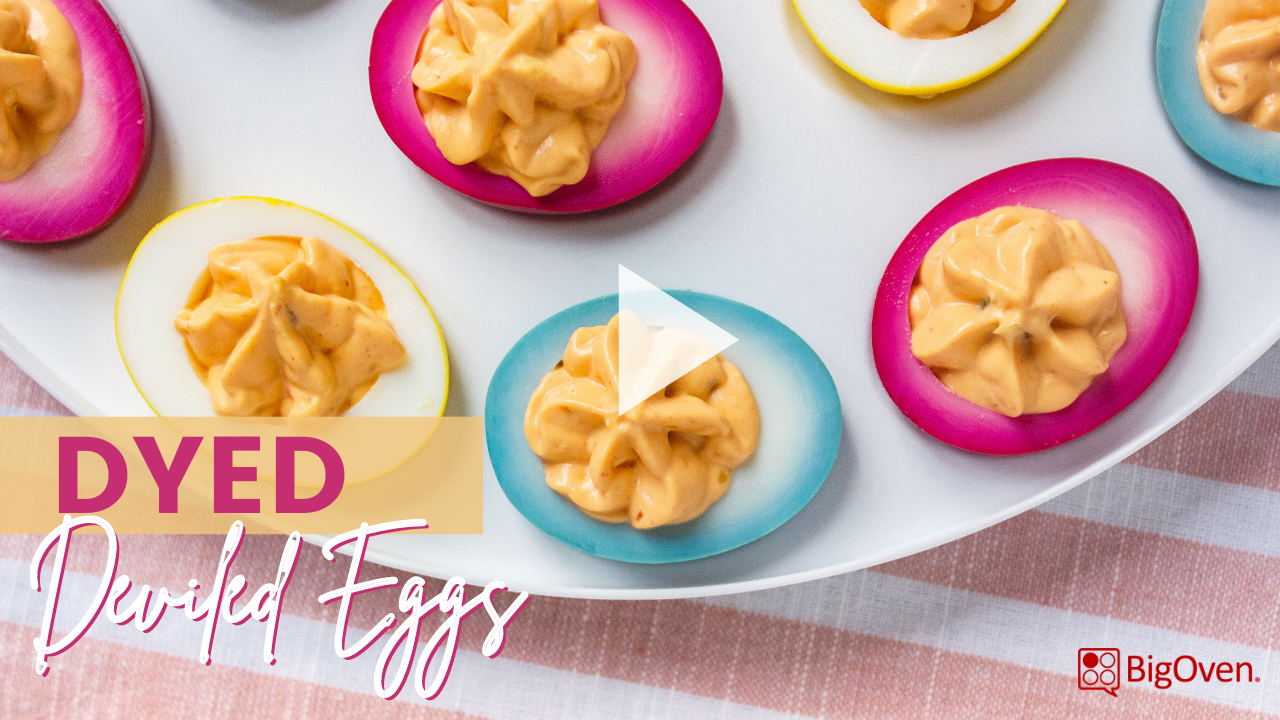
Check out our BigOven original recipe below to watch and learn how to make Dyed Deviled Eggs.
