Is there anything better than a flaky, buttery, melt-in-your-mouth pie crust? This humble pastry is a superstar in the kitchen, providing the perfect vessel for sweet and savory dishes. This kitchen staple is the supporting actor to some of the most comforting recipes, including the classic apple pie, sweet potato pie, pumpkin pie, and chicken pot pie. You can find pre-made pie crust in most stores, but nothing really beats homemade pie crust.
Making pies from scratch can be intimidating, but with a few simple tricks you can master homemade pie crust on your first try! Basic pie crust recipes also leave room for experimentation, and it's surprisingly easy with a little lesson on technique. If you're looking for an easy pie crust recipe, try our Classic Flakey Pie Crust!
Basic Method and Common Ingredients
Almost anyone who makes pie dough has a favorite recipe - often one handed down through generations and held as a proud badge of honor within the family. But, while there are many variations, a basic pie recipe has several consistent elements, and the process stays the same between variations.
Step One: Cut the butter into the flour.
Step Two: Add cold liquid to bring the dough together.
Step Three: Roll the dough.
Step Four: Chill the dough.
Step Five: Blind bake, then bake. Or, just bake.
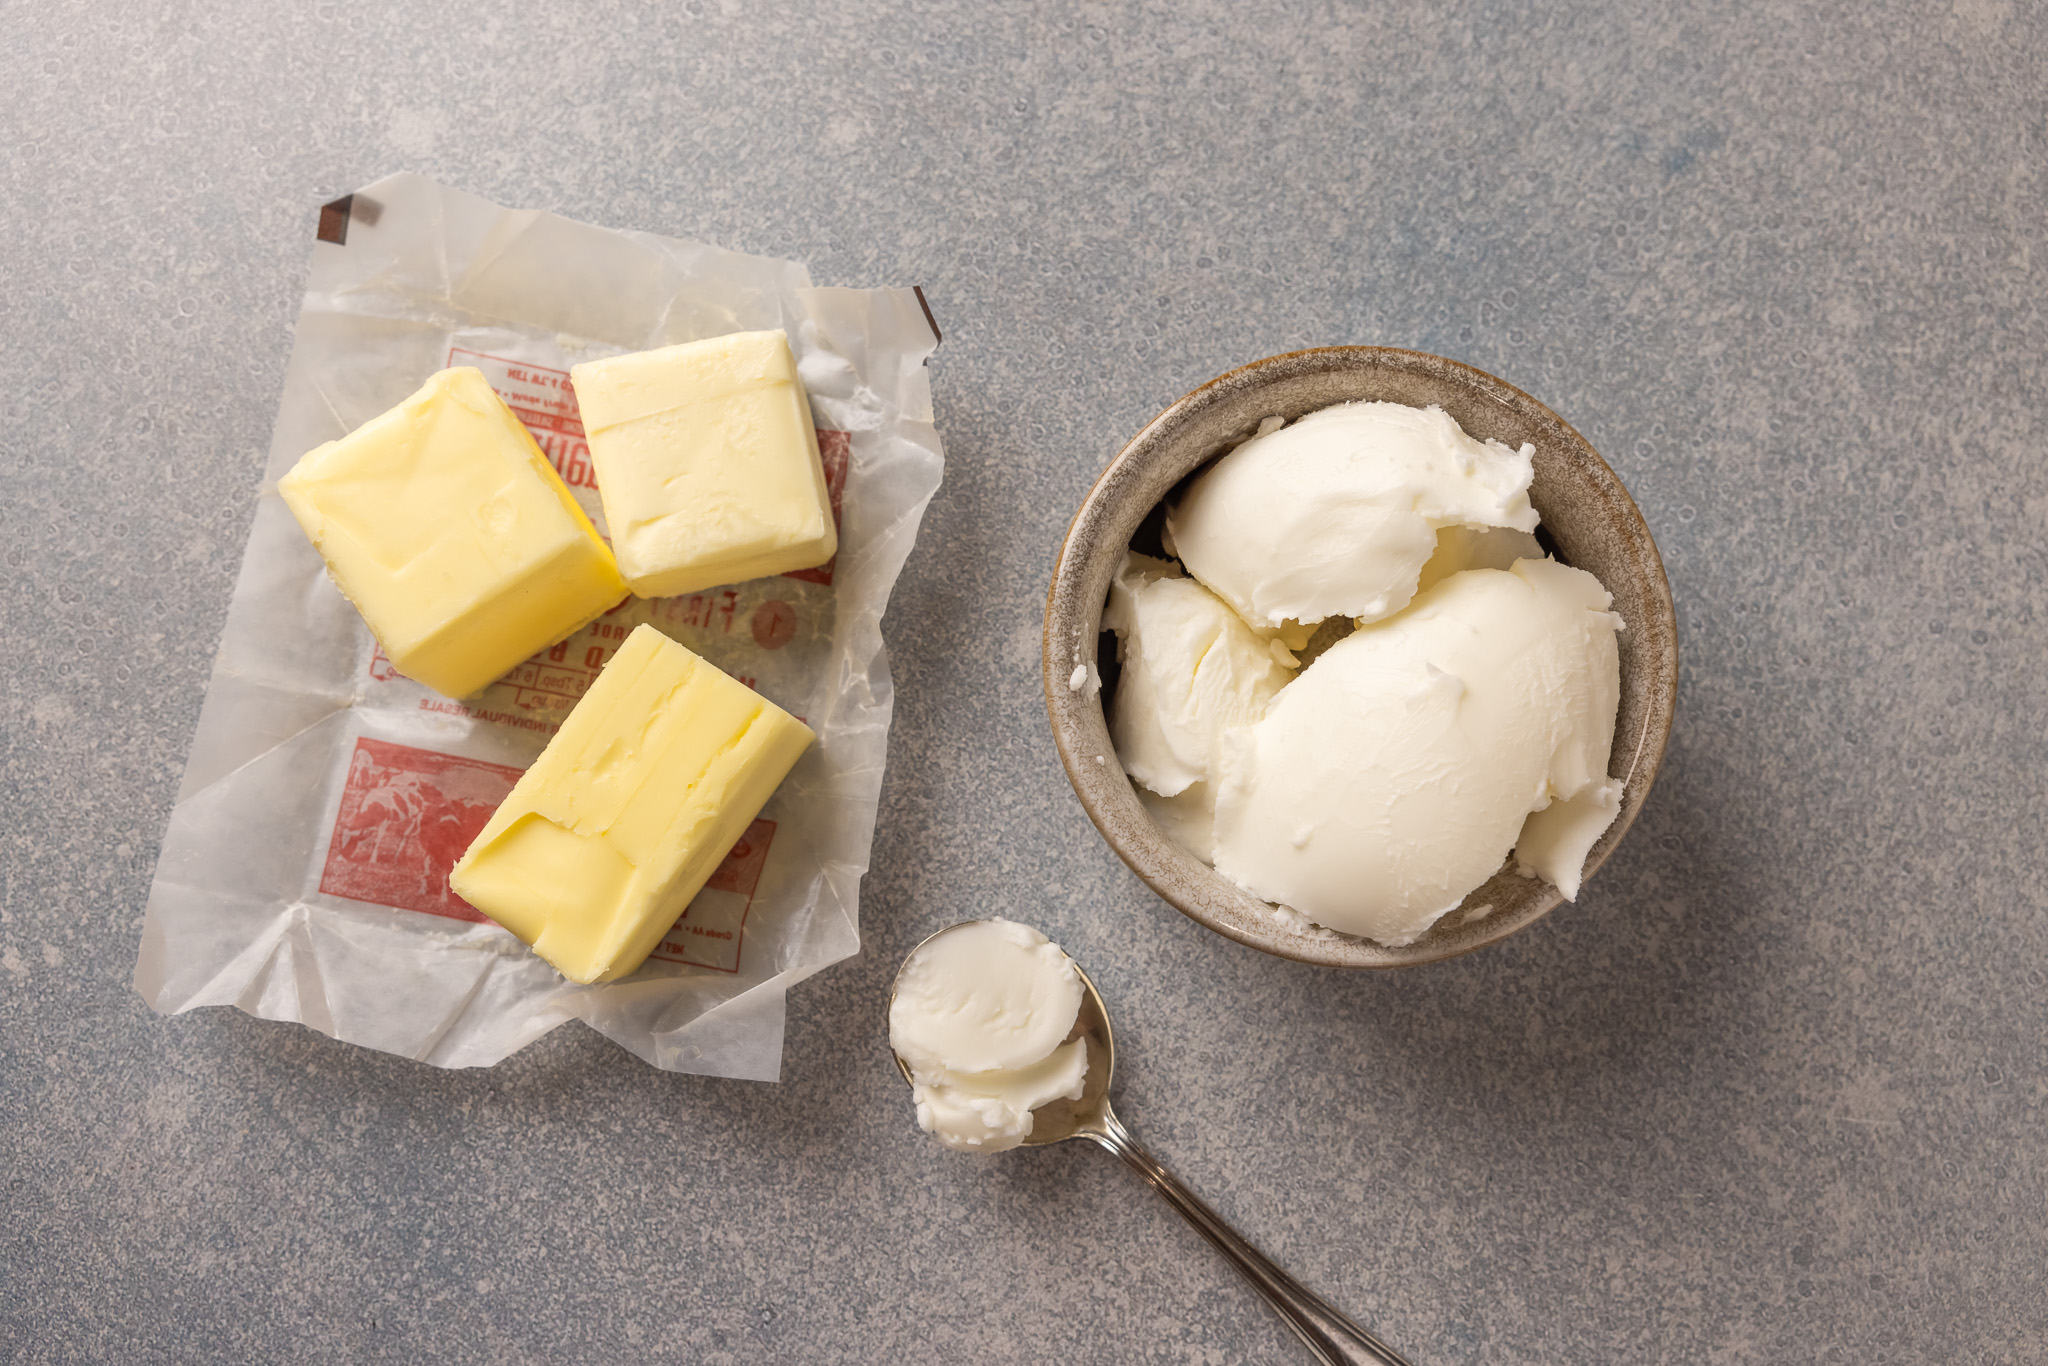
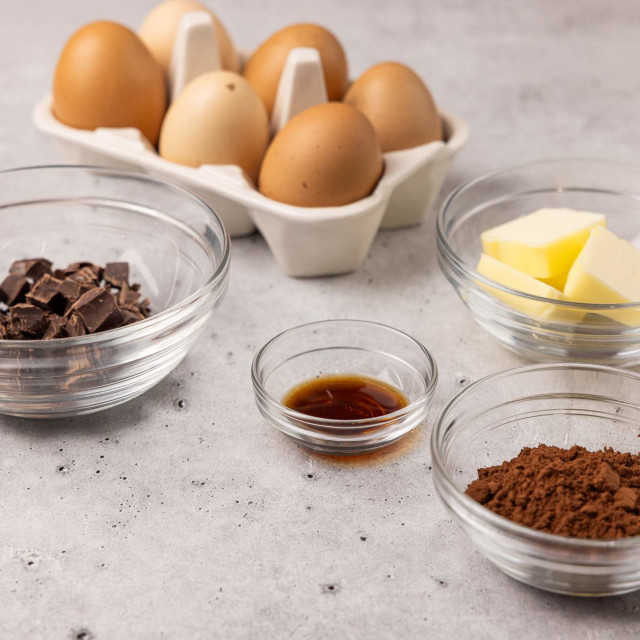
As for ingredients, all-purpose flour, cold unsalted butter, and a pinch of salt are the foundations for pie crust and can be found in nearly every recipe. Some recipes may use shortening or lard instead of butter, and alternate flours can be used for gluten-free diets.
While cold water (or ice water) is the most common liquid for pie dough, other options can add flavor or texture for a unique crust. Sour cream or buttermilk, for example, are sensational replacements that bring added dimension to the crust.
Butter vs. Shortening
The most heated political debate has nothing on the enduring feud between butter versus shortening. Often tied to family traditions, there is no middle ground here - you are either team butter or team shortening, or you might even be the wild card, team lard.
Choosing a side is a personal decision each person has to make. So, instead of leading the witness, here is a rundown on how each source of fat affects the pie crust:
Butter
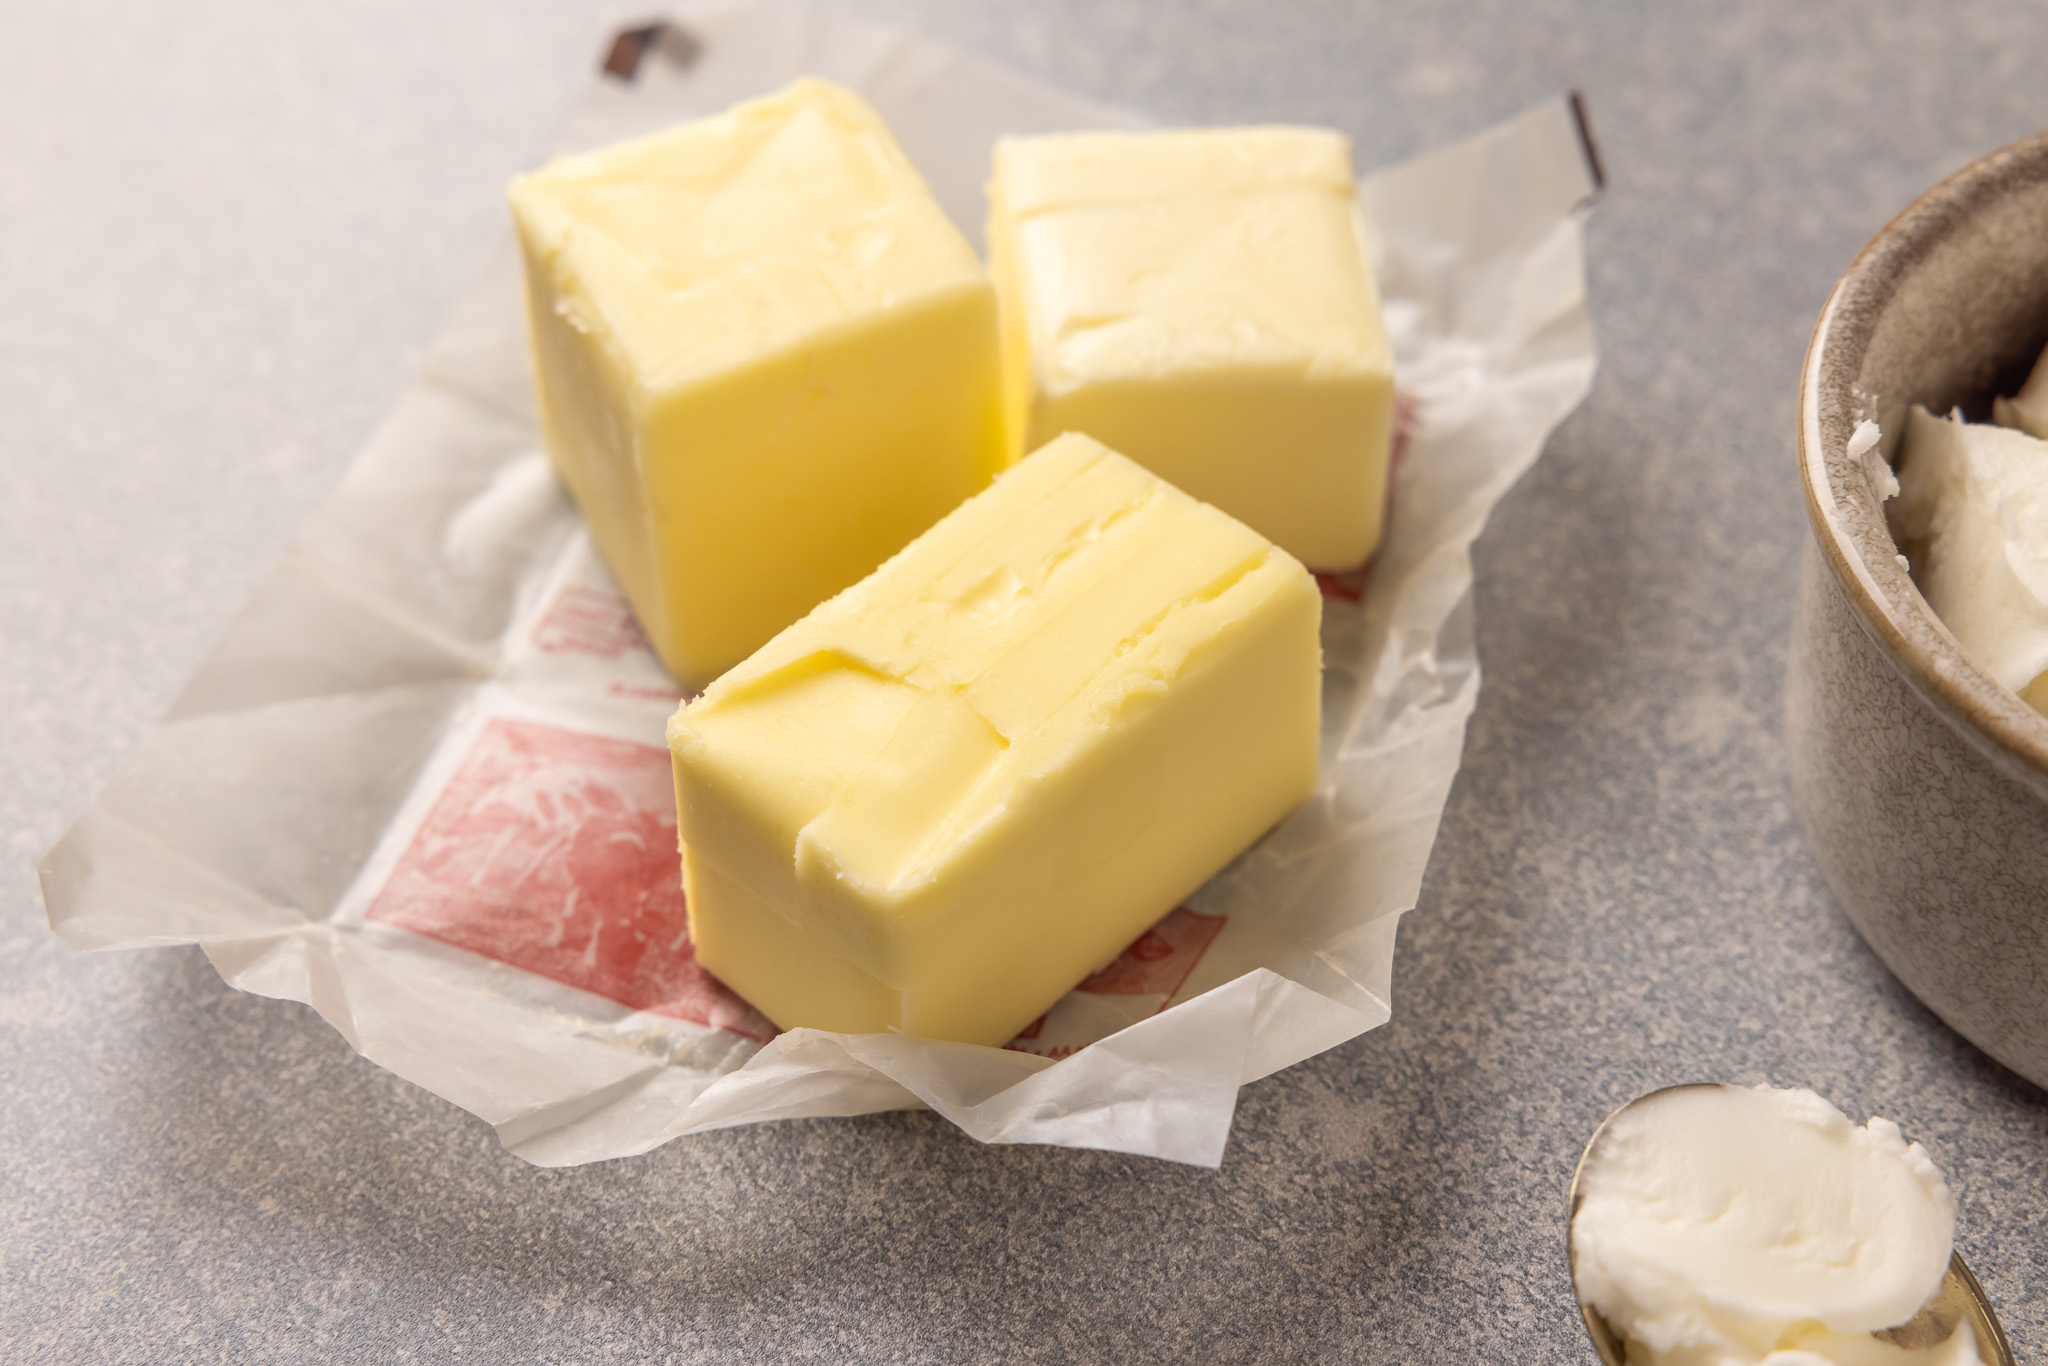
It is hard to beat the flavor of a butter-based pie crust. The water content in butter evaporates into steam during baking, creating unmatched tender, flaky pie crust layers. With the lowest melting point, butter crust can be difficult to work with as you are getting started. Attention to the temperature of your ingredients and dough can set you up for success when working with a butter crust.
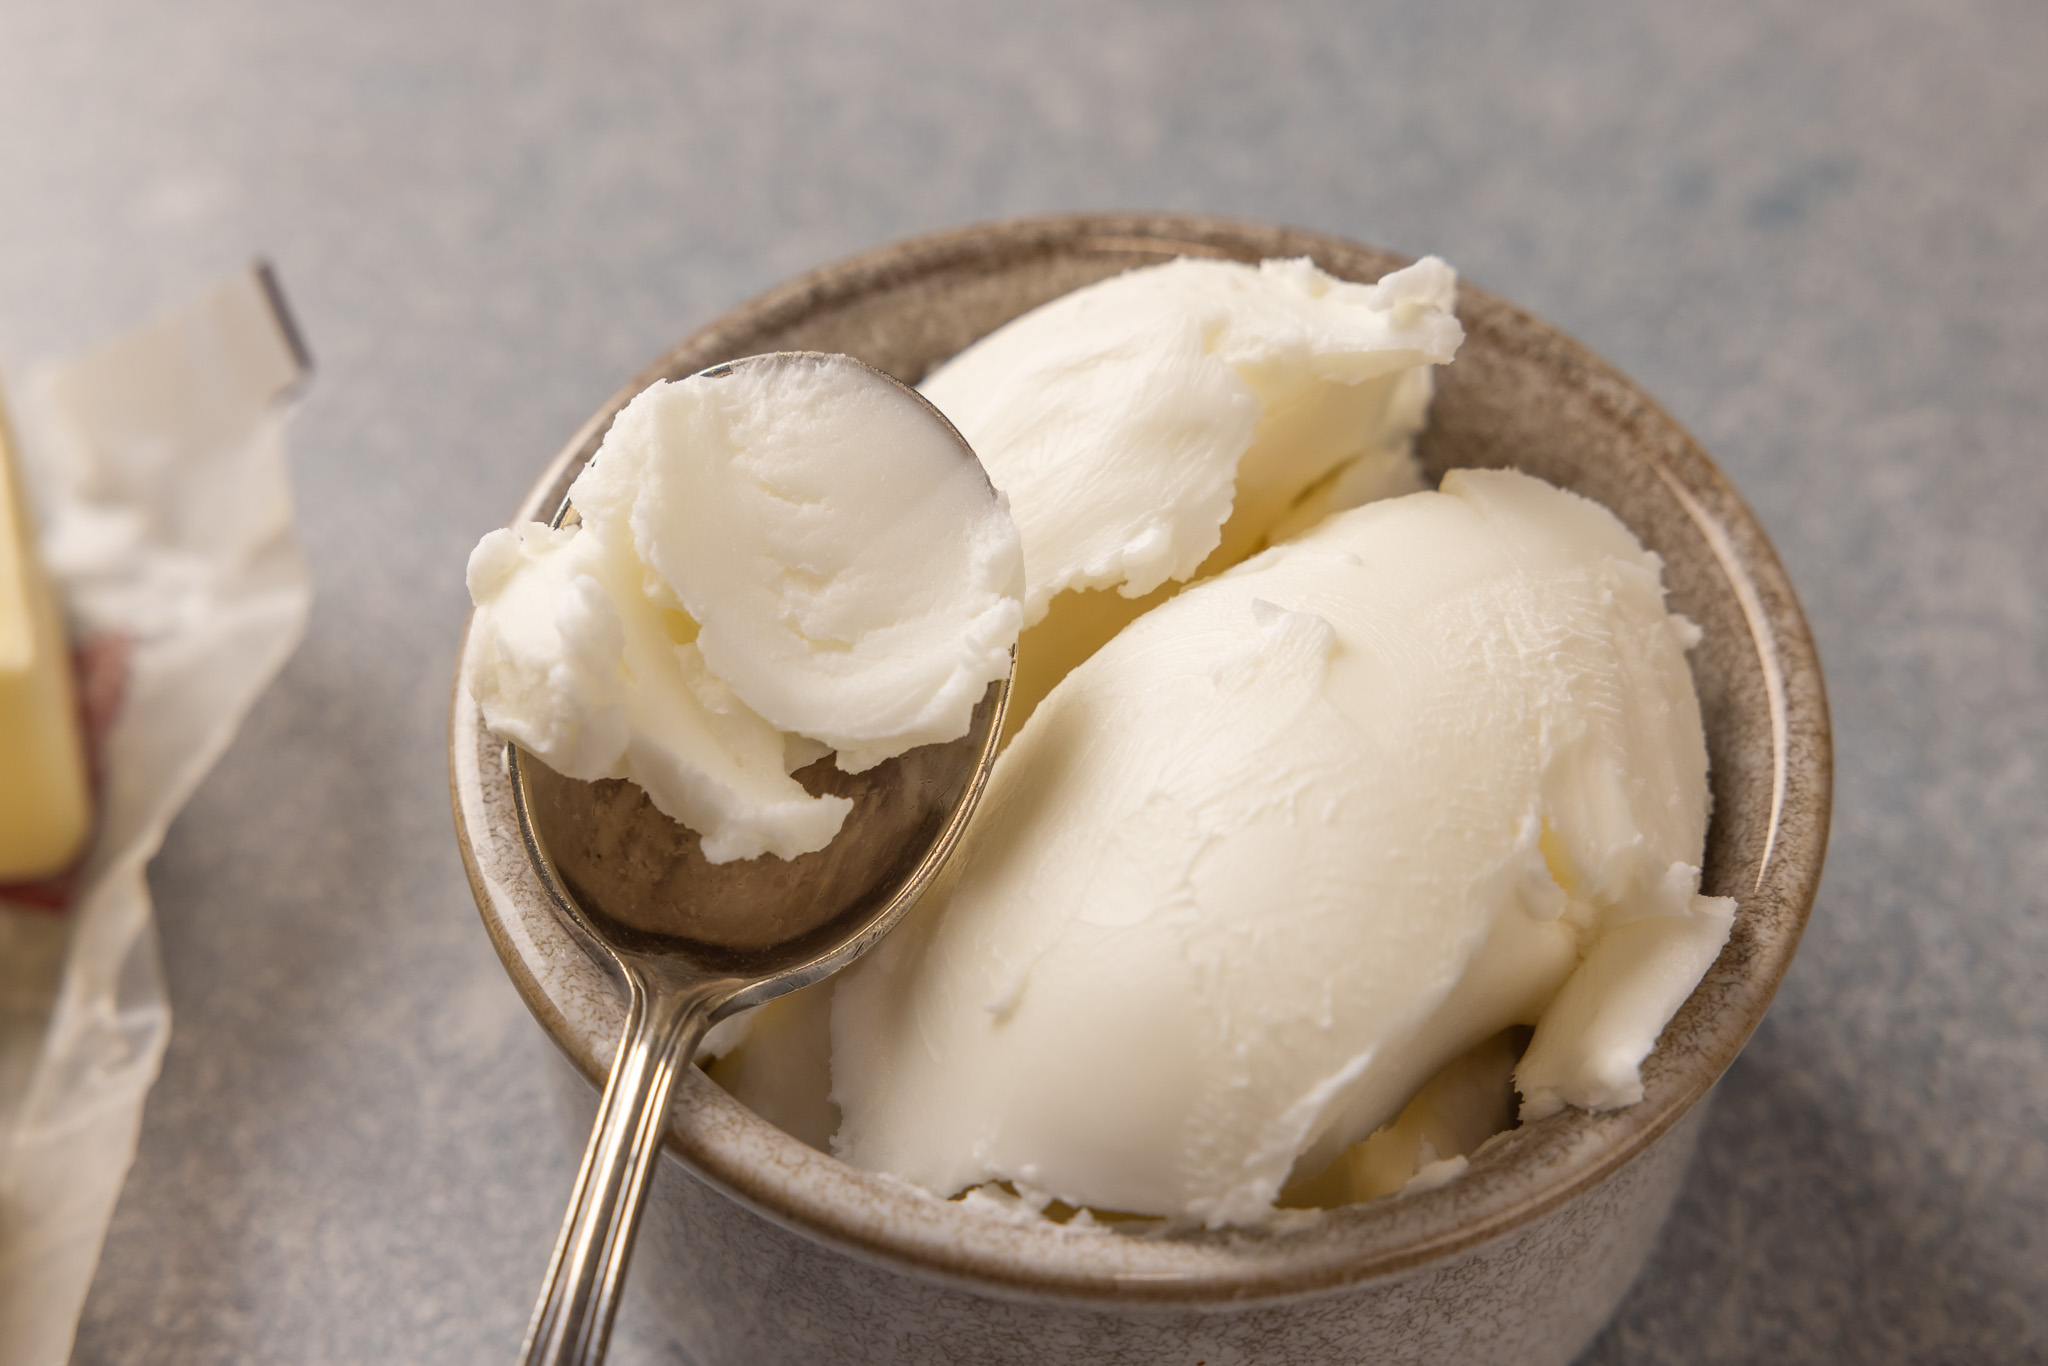
Shortening
With the highest melting point, shortening can be easier to work with and creates the most structure for a pie crust. Because shortening comes from vegetable oil, it is the best option for vegan pies. While the taste doesn't compare to butter or lard, it is the preferred ingredient for decorated pies where shape matters!
Lard
Lard has a higher melting point than butter and can be easier to work with. While high-quality, rendered lard can be difficult to find, this fat produces the crispest, flakiest crust. The flavor of a lard pie crust is undeniable and makes a perfect match for savory pies.
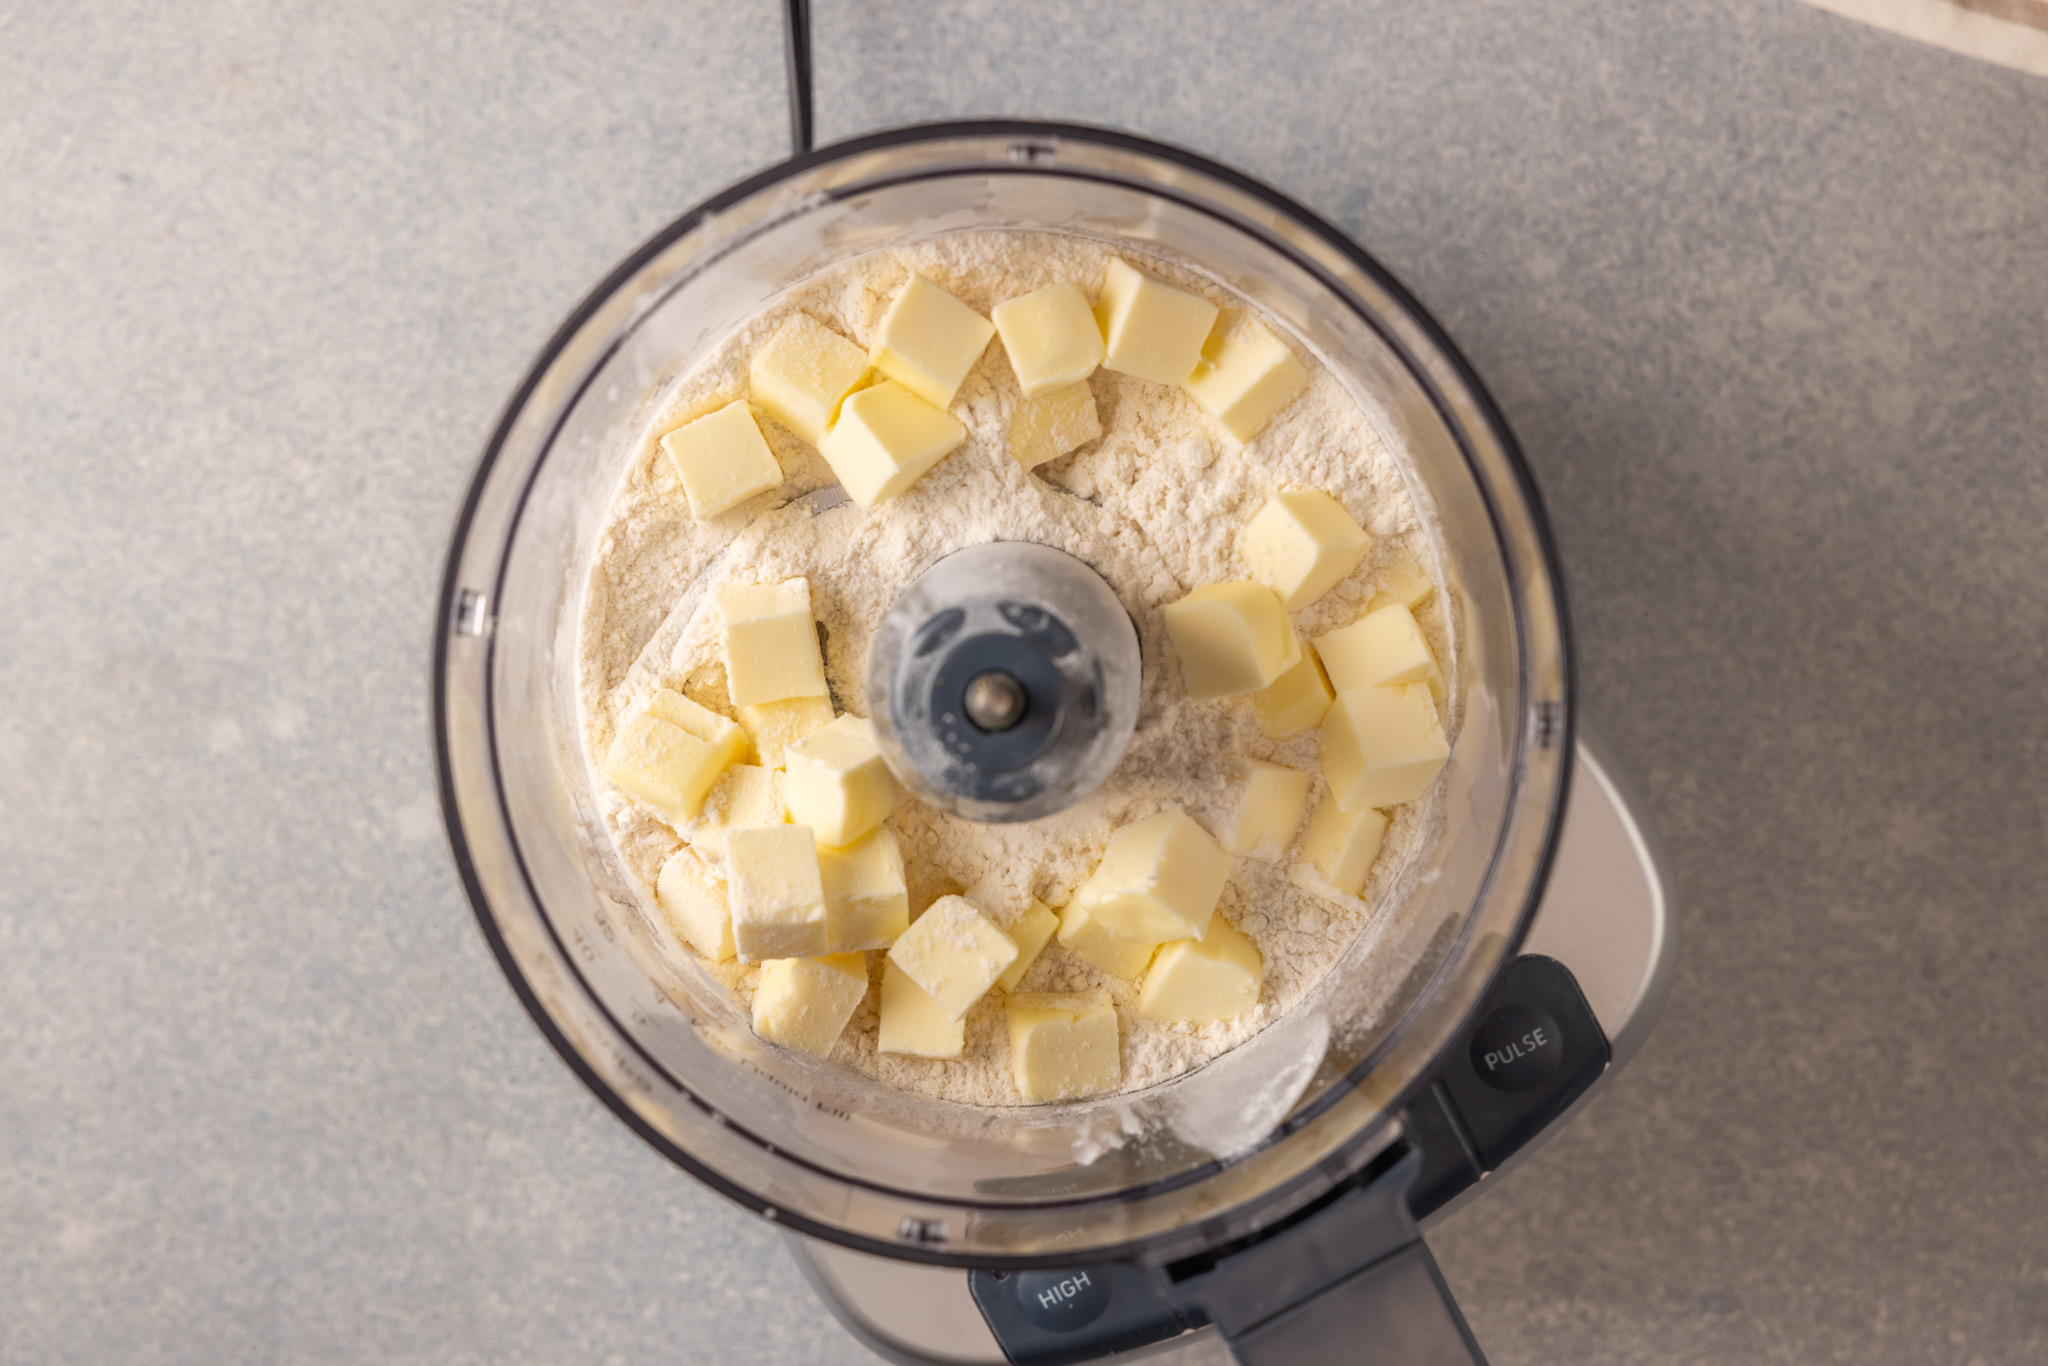
Hand Method vs. Food Processor
Simplicity is synonymous with pie crust. The equipment required to create the perfect crust is as sparse as the ingredients. Making pie crust by hand requires a pastry cutter (or large fork) and a rolling pin (or long wooden dowel).
While pie crust is possible with basic equipment, some recipes call for a food processor. This method can be more efficient, some caution is required to avoid overmixing the butter and adding too much liquid. For best results, use the pulse feature and check the consistency often.
In most cases, we actually prefer hand-mixing pie crust because you can see and feel the texture of the butter and flour mixture and dough consistency. But, the food processor has advantages, particularly when making pie crust during warmer months when the temperature of your hands is a concern.
Basic Methods for the Top: Crimping, Lattice, and More
Almost as exciting as your filling, the options for decorating and topping your pie are endless. Below are some of the most typical methods, but you can also top your pie with something sweeter, like meringue, whipped cream, or streusel.
Crimping
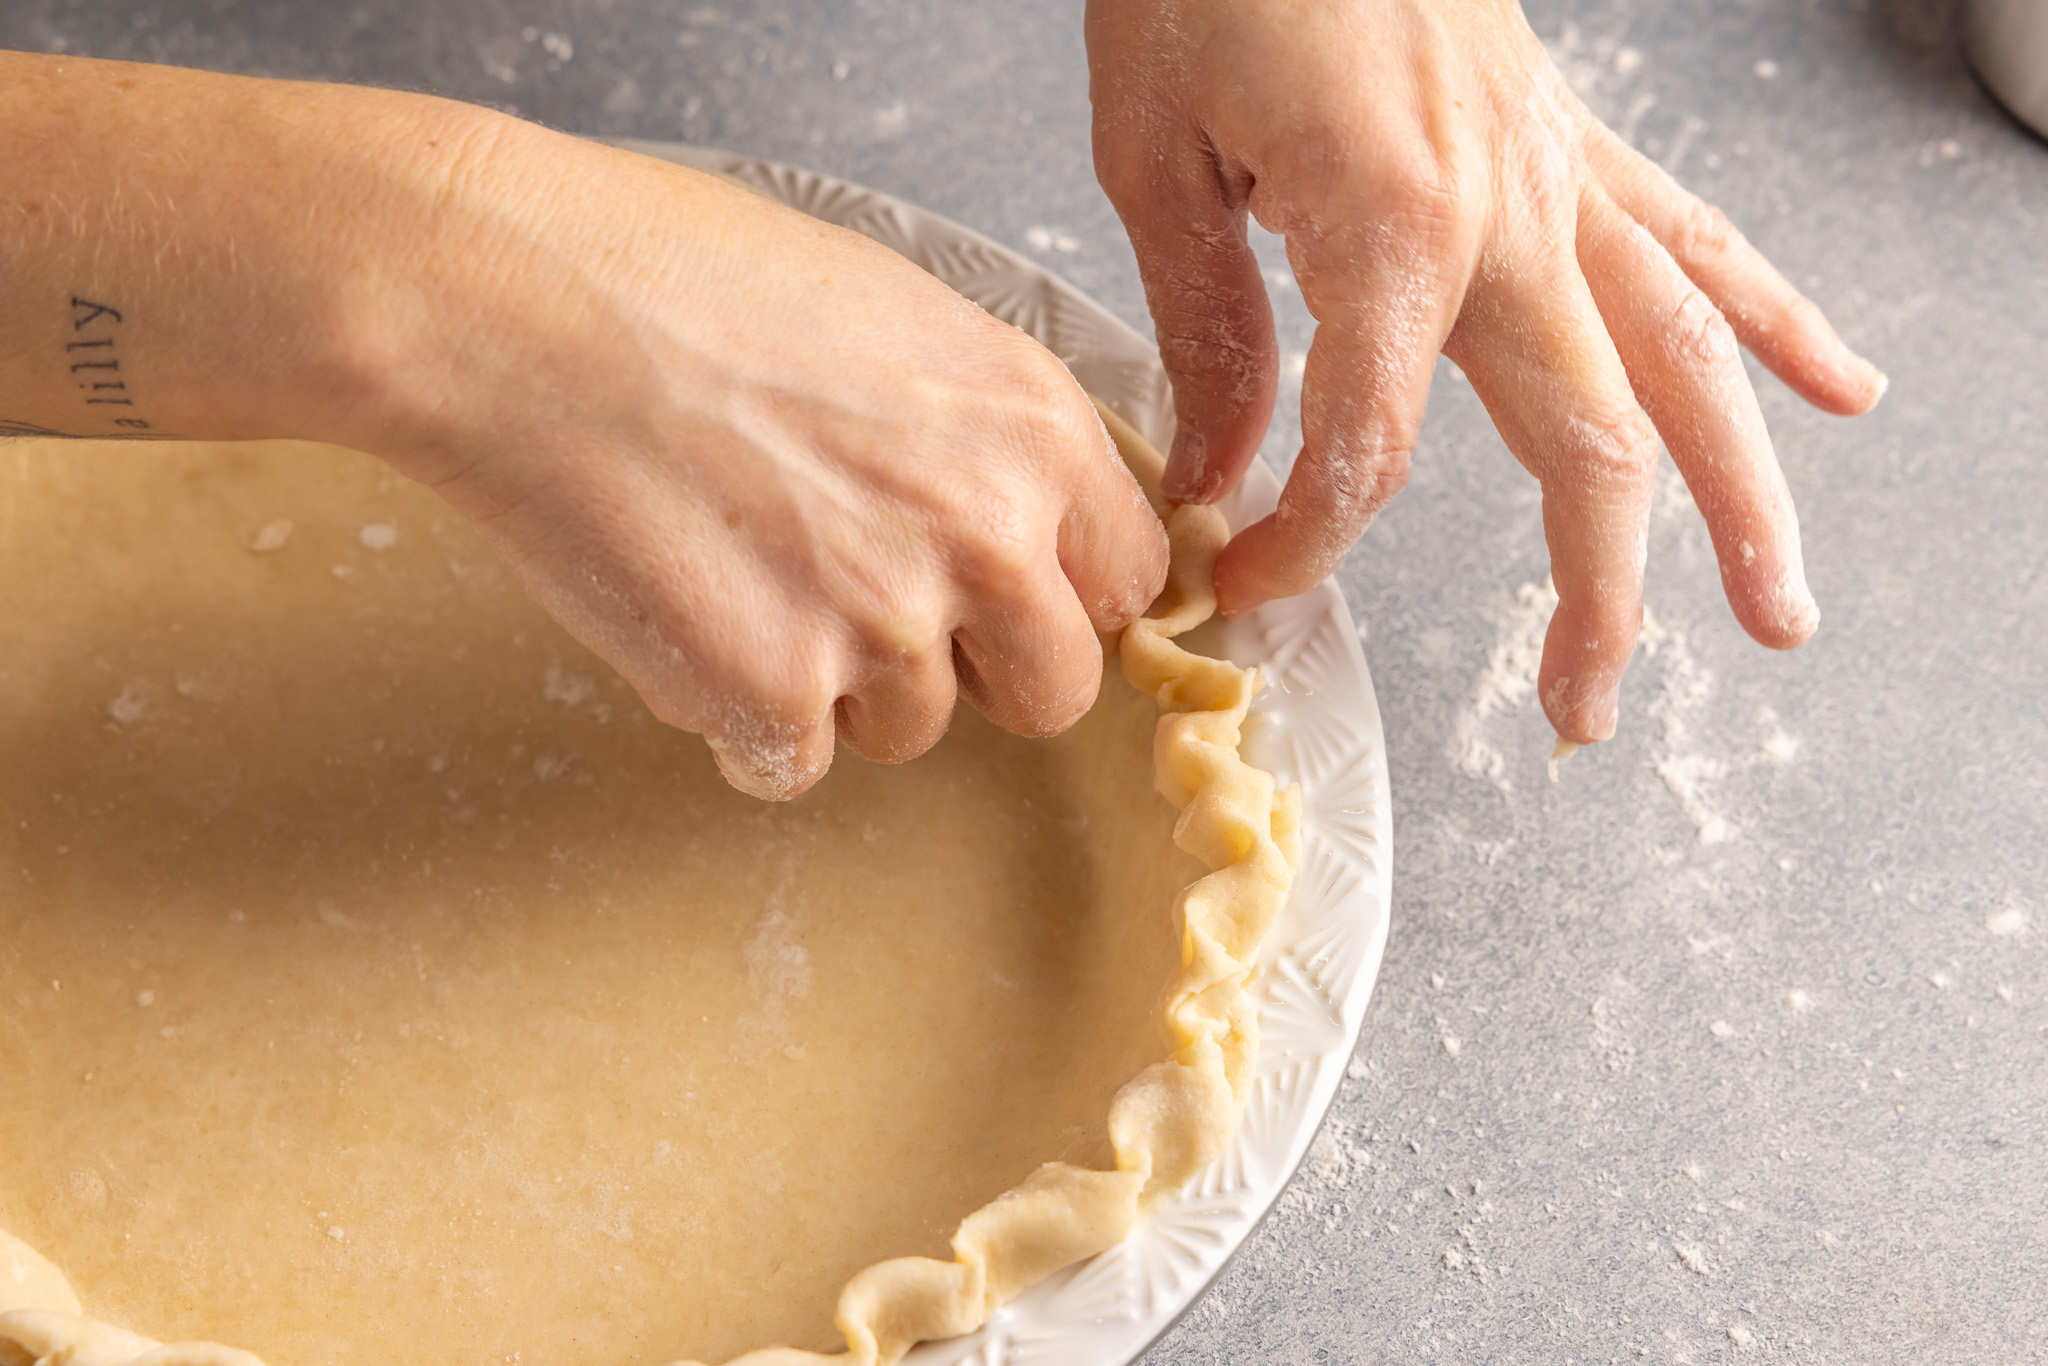
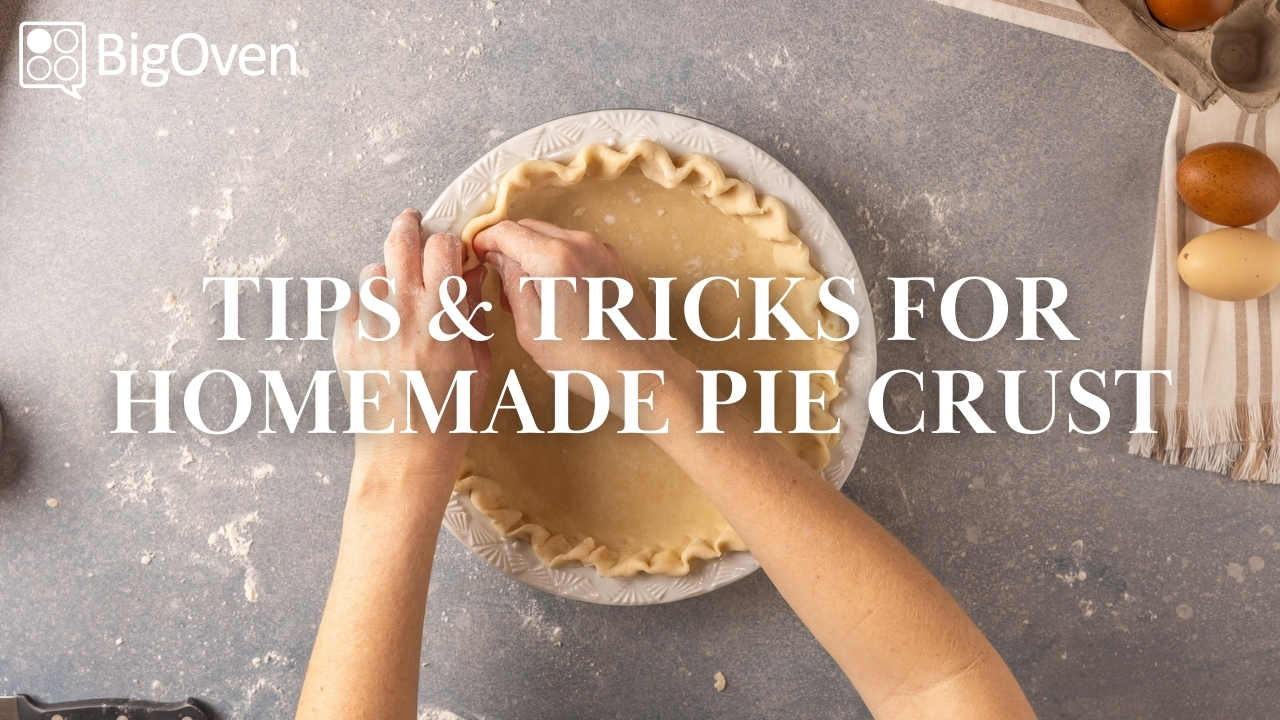
The most elegantly rustic option (and easiest) is to crimp the edges of your pie crust. This can be applied to a single-layer crust, or as a way to secure two layers (the top and bottom) together. To crimp, roll out your dough into discs that are two inches wider than your pie dish. Fold over the overhang and use your fingers to press the dough together to create a scallop pattern along the edge.
Lattice Work
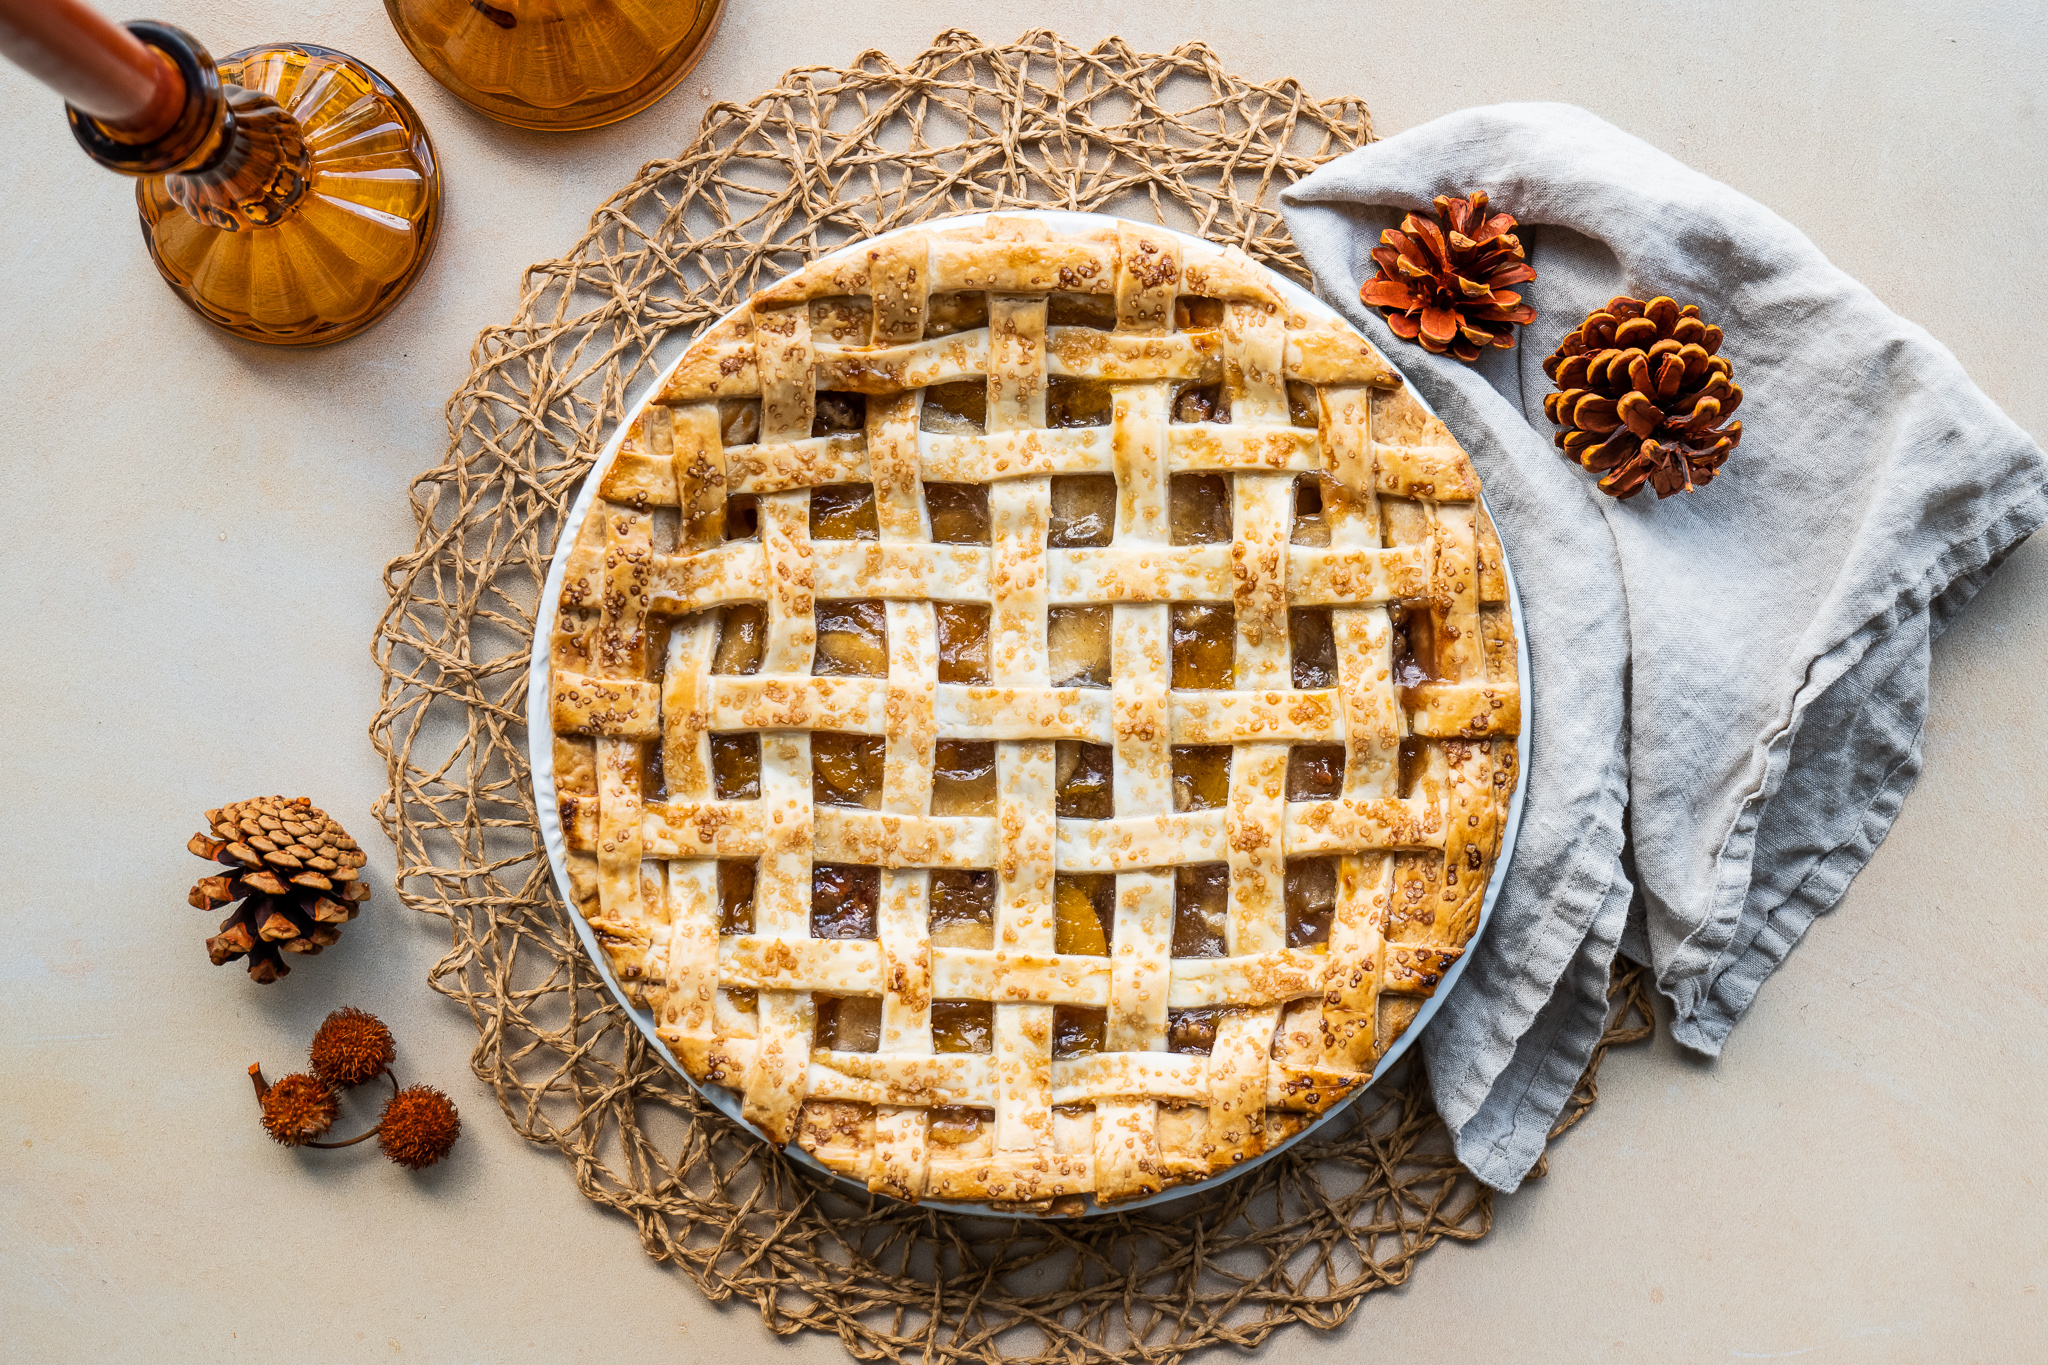
This method requires some time and patience but creates a stunning presentation. To create a lattice top, roll out a disc of dough and cut it into long one-inch strips. Lay these evenly spaced over your pie once filled, arranging half vertically and half horizontally. Next, weave the strips together and finish by crimping the edges of your crust and cutting off any excess dough.
Shapes and Cut-Outs
Cutting out shapes with cookie cutters is a more modern way to decorate your pie. This surprisingly easy method makes for a stunning pie and makes a great option for seasonal and themed celebrations. Simply cut out the dough using your cookie cutters and arrange the shapes on top of your filling in any pattern you prefer.
Tips & Tricks to Master Homemade Pie Crust
Ready to get started? These simple tips will transform your pie-making so you can explore a world of fillings, with the perfect pie crust every time.
1. Cold Ingredients are Essential! The flaky crust relies on the separation between the fat and flour. Cut your fat into one-inch cubes and freeze for at least two hours before making your crust. On warmer days, you might also chill your flour in the bowl in the refrigerator or freezer for better results.
2. You Want Chunks of Butter (or Fat). When you cut in the butter or fat you want the mixture to be crumbly with pea-sized pieces of fat. The larger chunks the better because this separation creates those flaky layers!
3. Work Quickly. The temperature of your dough is important. Is the room hot or cold? Are your hands too warm? Butter will melt quickly, so you want your dough to stay around 68 to 72 degrees Fahrenheit for best results. If it feels too warm, place in the refrigerator for a few minutes to chill.
4. Mix Until Just Combined. Adding too much liquid can ruin a pie crust. The ideal dough is crumbly but just holds together when pressed between your fingers. Even if the dough is still crumbly in the bowl, it will come together more than you think once turned out and rolled on your surface. So, go light on the liquid, adding one tablespoon at a time.
5. Use a Light Touch. Avoid handling the dough with your hands as much as possible. Use a pastry blender or fork to cut in the butter, and a rolling pin to roll into a disc.
6. Chill Before Baking. Cover with plastic wrap and chill the dough in the dish for at least two hours before baking. This will help the gluten settle and the butter recover.
7. Fully Weight When Pre-Baking. Recipes often require a pre-bake of the dough before it is filled. When pre-baking, make sure to fully weigh down the dough with pie weights or other options (rice, beans, or sugar). The weight should be fully flush to all sides to prevent shrinking in the oven.
8. Time the Bake and Watch. Soggy bottoms and burnt edges are common mistakes with pies. Most will require more time than you think for a fully baked crust, but edges can easily catch in the oven and overbake. You can cover the edges with foil partly through the bake to prevent this. A metal and glass pie pan can also help ensure an even cook on the bottom of your crust.
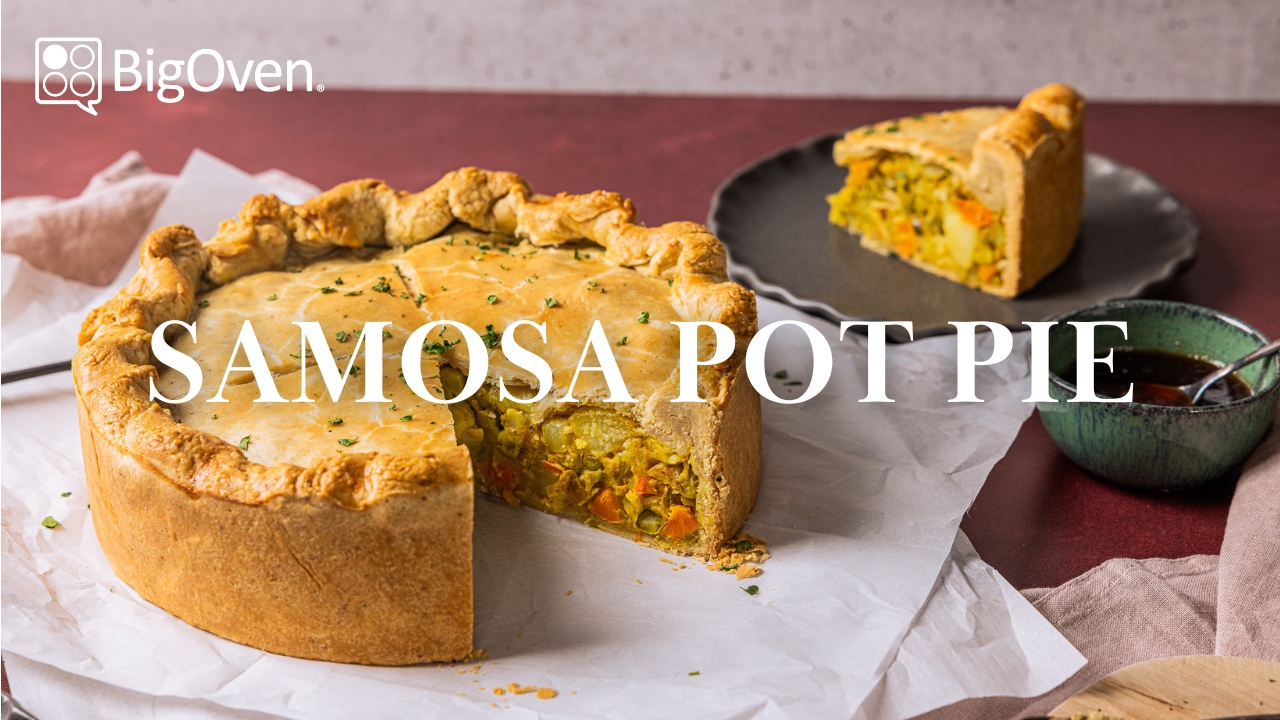
Put those pie crust-making skills to the test with our new Samosa Pot Pie recipe!
