Guide to the Ultimate Mac and Cheese
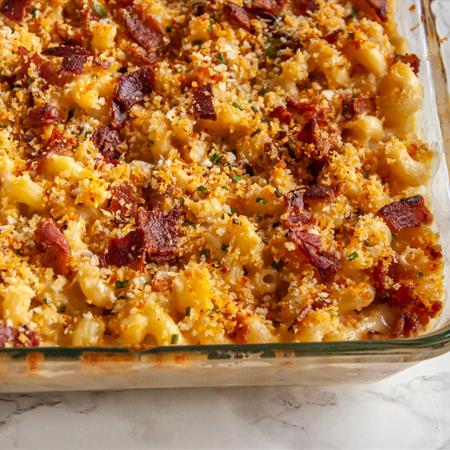
Mac and cheese is the perfect side dish to accompany any summer BBQ! It’s also hearty enough to be a main dish—especially when you add in a protein and other mix-ins to make it a one-pot complete meal.
We’ll take you through all of the components of making a killer mac and cheese dish and different ways to customize it to make it your own.
The Noodles
Although elbow macaroni is the most traditional, you can really use any type of noodle you have on hand to make mac and cheese.
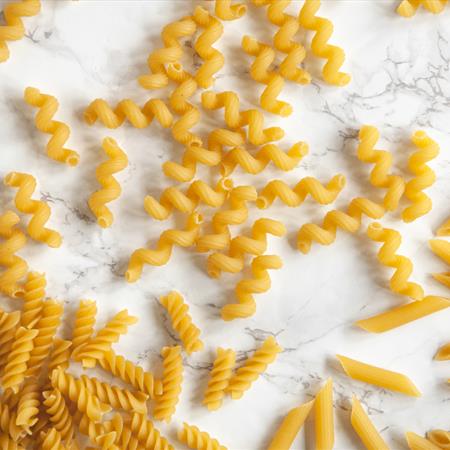
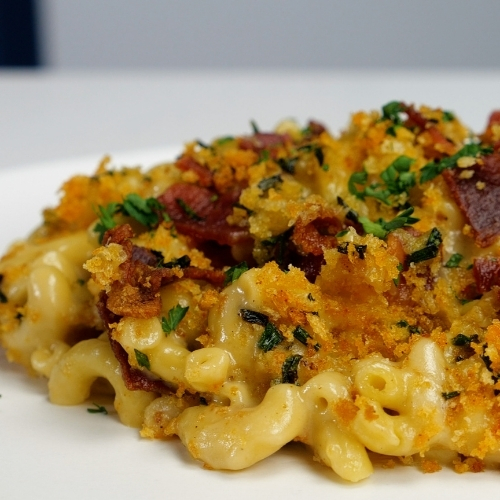
We prefer a short pasta for easier eating, ideally with either ridges or a hole in the center to hold all that delicious cheese sauce. We chose cavatappi, which is like a corkscrew macaroni, to make our Bacon Mac and Beer Cheese recipe because it has both ridges and a hole in the center. Some other options include penne, shells, rotini, or of course the classic, elbow macaroni. All work equally well, just depends on your preference!
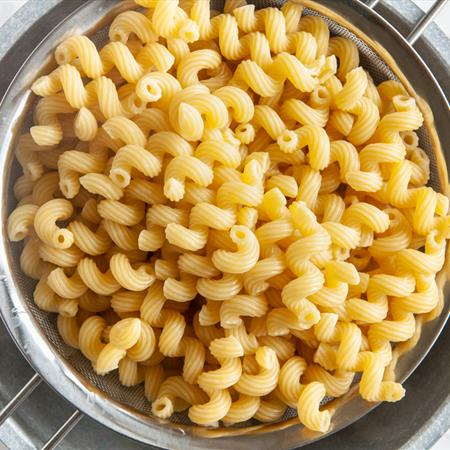
Cook the noodles al dente—a minute or two less than the package directions suggest—if you’re finishing the mac and cheese in the oven. The noodles will continue to cook a bit more in the oven, so you don’t want them to become too soft and mushy.
The Cheese
Now let’s talk about cheese! You can use any combination of cheese in mac and cheese—I like to use a mixture of cheeses for best results. Try to use one type of cheese that has really big flavor, like a sharp cheddar, and balance that out with a really creamy, good-melting cheese such as Fontina or American.
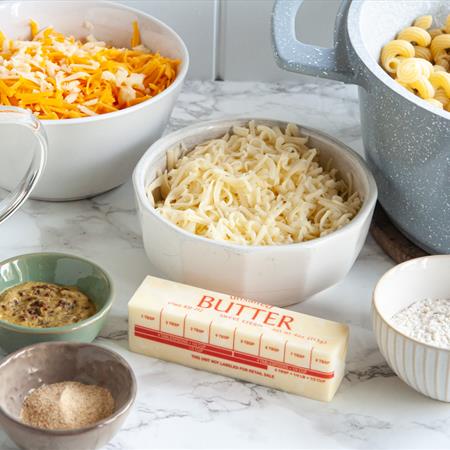
I would avoid buying pre-grated cheeses for mac and cheese since they contain additives that may make the sauce stringy and not as smooth. Pre-grated cheese is a great shortcut and can save a lot of time for certain dishes, but with mac and cheese I think it’s worth it to grate it yourself using a box grater. Or if you’re making a big batch, you can make prep easier by using your food processor to grate the cheese.
The Sauce
Now that we’ve got our cheeses picked out, let’s go over some tips to make a silky smooth, flavor packed cheese sauce to put your mac and cheese over the top.
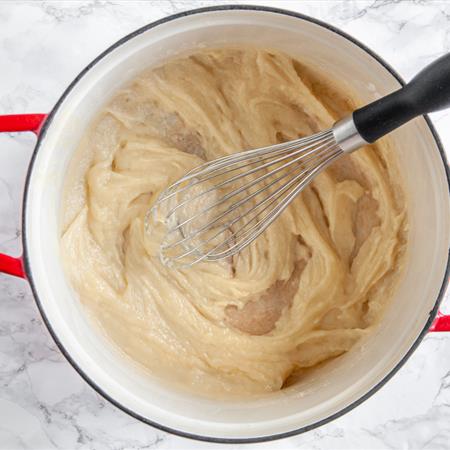
Most times, the cheese sauce starts with a roux—a mixture of equal parts flour and fat, which acts as a thickening agent. Typically, that fat is butter, but you could also use oil, or even some bacon fat for an extra savory meaty flavor!
You then add liquid to the roux, usually milk or heavy cream, and that becomes the viscous, creamy base of the sauce. Using a lighter milk like skim milk will make the sauce lighter, while using heavy cream will make the final result very rich. Another thing to keep in mind is that low-fat dairy is more prone to curdling when overheated than products with a higher fat content like cream. I find whole milk to be the best option, somewhere in the middle of the two.
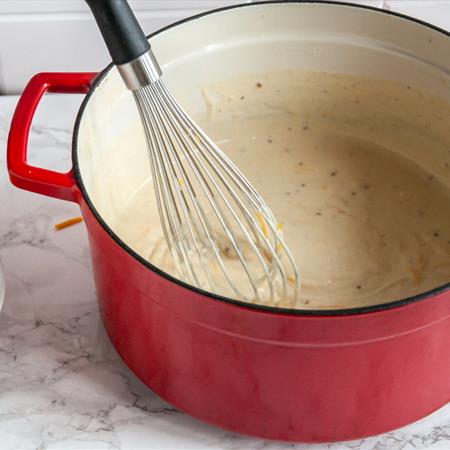
In our Bacon Mac and Beer Cheese recipe, we used a combination of whole milk and beer, to add flavor that’s perfect for a summer BBQ. You could also choose to replace some of the liquid with stock rather than using all milk or cream to lighten it up a bit. Just make sure you are keeping the same ratio of total liquid to roux as listed in the recipe.
To avoid a sauce that’s grainy, and to avoid curdling, patience is key. Whatever liquid you are using, you’ll want to slowly whisk it into the roux in parts, whisking well and slowly heating after each addition.
After all of the liquid is added, you can season the sauce with flavoring agents such as mustard, garlic, Worcestershire sauce, and ground black pepper. You could add in a pinch of cayenne if you like a bit of spice, whatever sounds good to you! Mustard may sound strange to add to mac and cheese, but using a small amount adds depth of flavor, and you won’t really notice a strong mustard flavor. We prefer stone ground mustard, but any yellow or brown mustard will work.
Finally, fold in the cheese. You’ll also want to do this slowly, one handful at a time over low heat, whisking after each addition to maintain the smooth texture. Once all of the cheese is fully incorporated, you can fold the pasta into the cheese sauce. Be sure to mix well so the sauce is even throughout and gets in all the nooks and crannies of the pasta.
The Breadcrumb Topping & Mix-ins
If you want, you can eat the mac and cheese at this point. It’s fully cooked and delicious! But if you want to take it up a notch, finishing with a breadcrumb topping is the way to go. Adding a topping provides a great crunchy texture in contrast to the smooth and creamy mac and cheese.
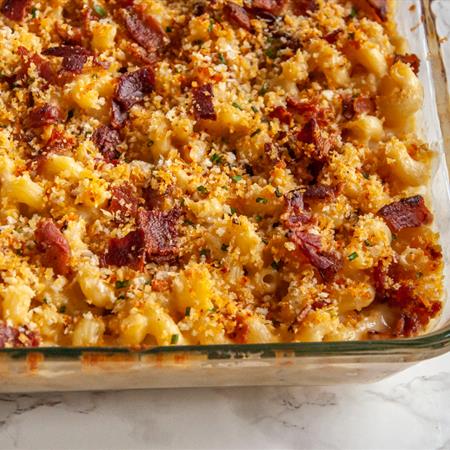
We prefer panko over regular breadcrumbs for the added texture, but regular breadcrumbs work too. You’ll want to saturate them in a little fat such as oil or melted butter to promote browning and add flavor. Then you can mix in herbs and spices like chives or garlic to flavor the breadcrumb mixture.
And lastly for the fun part—customization! You can customize mac and cheese with whatever toppings or mix-ins you like, so many variations! Bacon, ground beef, chicken, and lobster all make great additions. Be aware that when adding certain mix-ins such as meat or fish, the meat should be fully cooked prior to mixing into the macaroni or the topping.
Vegetables that release a lot of water like tomatoes should also be precooked to avoid a soupy mac and cheese. Alternatively, you can use canned tomatoes that have been drained.
Cooking & Serving
As we said, the mac and cheese is fully cooked at this point, so you can serve it as is. If you’re using a breadcrumb topping, you can lightly toast it on the stovetop until it is golden brown. Then, transfer the mac and cheese to serving dishes and top with a spoonful of the toasted crumbs.
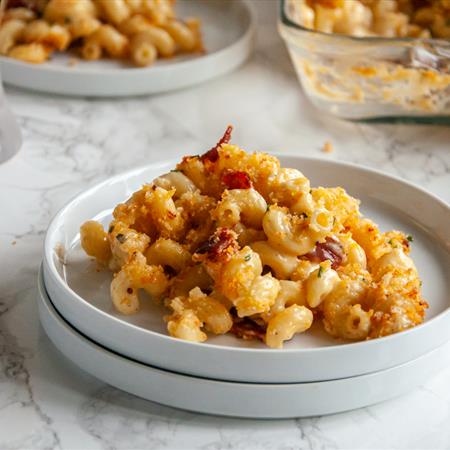
You can also finish cooking the mac and cheese in the oven. I prefer finishing it in the oven because the top layer gets a little crunchy around the edges. Transfer the macaroni to an oven-safe dish, top with breadcrumbs, and bake until it’s hot and bubbly. Don’t bake it for too long or it will come out dry—just 20-30 minutes at a moderate temperature around 350-375 should be perfect.
